Showing posts with label Dinner. Show all posts

Wednesday, January 1, 2014

Clean stuffed peppers


After spending the first day of the new year exploring the outskirts of the lovely city I call home with my husband and son, we came home to relax a little before heading out to see the Christmas lights downtown one last time. I decided that I wanted something easy, filling, but mostly…yummy…for dinner so I searched the fridge for motivation. About an hour later, we had these bad boys steaming in front of our drooling mouths.

*Note: my iPhone could not accurately capture the noms but I tried.

Here's what you'll need:
4 good sized peppers (we used orange and yellow today because…sunshine.)
1lb. lean ground beef or ground turkey..beef was on sale this week so beef for us.
1 small yellow onion (diced)
2 roma tomatoes (diced)
1 clove minced garlic
1tbs olive oil or coconut oil
salt, pepper, chili flakes - all to taste.

To get started, preheat your oven to 350 degrees and dice up those onions. 
You want to sauté the onions in the olive oil or coconut oil for a few mins..just to soften them up a bit. Add your garlic, tomatoes, meat and seasonings to the pan and brown it up. Now, you don't have to pre cook your beef, but once we smell garlic and onion cooking in our house..dinner needs to be out FAST or we start losing our minds trying not to eat our own hands. Once your beef has browned up drain it and set it aside.
Now grab those pretty little peppers. You're going to want to cut the tops off and clean out all the seeds and stuff from the inside. Boil them in a pot of water for about 5 mins (they will get really vibrant and pretty) and it helps soften them up too. 
Drain the peppers and set them (hole side up) in a baking dish. Spoon your beef mixture into the peppers (our beef mixture filled all 4 to the top perfectly) and add about 1/4 inch of water into the bottom of your baking dish before popping them in the oven.
Let the peppers bake at 350 degrees for about 30-45mins (if beef was cooked prior to baking..uncooked time will be about 50-60mins.) 

These were SUPER yummy and filling and really perfect for the cool day we had today. Plus, who doesn't love a dinner where you can eat the "bowl?" We had these with steamed broccoli and carrots since it's what we had lying around but honestly, these would be good with just about anything..or even by themselves. 

Now back to my prepping for the upcoming farmers market I will be at for my Origami Owl booth. :) If you're in Riverside in the area of Tyler Mall this upcoming Sunday the 5th, come by and say hi!

Also, check out my Facebook page: www.Facebook.com/TaraSellsLockets I'm having a Mystery Hostess giveaway ending January 17th. Are you feeling lucky? ;)


Monday, October 14, 2013

Clean Eating Butternut Squash Casserole

I will be the first to admit that my palette would tends to be comparable to my 3 year old who constantly requests quesadillas and peanut butter & jelly sandwiches. Before my weight loss surgery, I didn't eat many...ok...I never ate veggies. Butternut squash was not only something new I wanted to cook with, but to be honest, it was a new taste for me as well. 

For this recipe you will need:
1 Butternut Squash
1 Sweet Yellow Onion (Chopped)
2 Tbs. Coconut Oil
3 Cloves Garlic (Minced)
1 Piece toasted bread (I used some leftover Clean Eating Crockpot Bread)
Optional:
Ground Cinnamon
1 Cinnamon Stick


 First thing I did was cut the Butternut Squash in half from top to bottom. 
 After Spooning out the seeds & putting the halves in a baking dish, 
 I put about 1-2 inches of water in the bottom of the pan, threw in a cinnamon stick, and sprinkled the squash with some fine cinnamon also.
 I grabbed the leftover Clean Eating Crockpot Bread I had and crumbled it into a baking pan. Toasted it at 350 until it started to brown up a bit. (about 5-10 mins maybe?)
 After I pulled my toasted bread crumbs out of the oven, I put my Butternut Squash in and let them go for about an hour.
Once they were cooked through, I let them cool and spooned out the insides tossing out the skins.
In a pan, I heated up 2 tbs. of Coconut Oil, added my Garlic and JUST before it started to brown, I added my onions until they were transparent.
Then, I mixed the Garlic/Onion Mixture into my Squash.
..Topped it with my bread crumbs & put it back in the oven for about 25-30 mins.
I served it up with some Cinnamon Creamy Chicken (that I will post the recipe for later) and a Kale salad with some walnuts, dried cranberries & a little italian dressing. 

As for nutritional information, per www.myfitnesspal.com, the following was my results. Please note that this is just an estimate. The nutritional value of your meal will vary depending on the ingredients you choose & portions you add. It should be used as a guide and not a definite. Happy eating loves!
  
              
                                              Calories         Carbs        Fat       Protein     Sodium   Sugar
Total:602932892633
Per Serving:100165246


Tuesday, October 8, 2013

Clean Eating Shrimp Fried Rice


Let me start this post on a personal note, tomorrow marks four years since the day I married my best friend in the world. A lot of people may say that they are married to their best friend, but we truly were besties before he put a ring on it. When I married my hubbin he brought with him three of the silliest little monsters I am proud to to call my step children. We just celebrated my son's 3rd birthday. October is our month :) The hubbin bought me a Gold's Gym XR45 Home Gym for our anniversary and I could not be more excited. I'm easy to please & a very lucky woman. I love you Charles Henry.

Moving on.......Oh yes! Shrimp Fried Rice! MMMM. I had no motivation to cook this afternoon so I decided to whip up something fast, filling, and an absolute crowd pleaser in our hectic home. 

There are 2 adults and 4 kids here..this recipe made enough for all of us to get our fill, plus enough for the husband to take some to work tomorrow for lunch.

For this recipe you will need:

3-4 Cups Brown Rice Cooked(We only had Jasmine rice..Meh)
3 Cups Raw Medium Shrimp (Peeled)
3 Cups Peas & Diced Carrots (if frozen, heat them up)
3 Eggs (Scrambled)
1 Tbs Sesame Oil
2 Tbs Liquid Aminos (I use Braggs)
1 Tbs Minced Garlic
1 Tbs Rice Wine Vinegar

Alrighty..After you prepare your rice, you're going to want to heat up your Sesame Oil in a wok or large frying pan over Medium-High heat. While that's warming up, mix your  Liquid Aminos, Minced Garlic and Rice Wine Vinegar together. 

 Here's a random picture of my shrimp before I peeled it. :D Ha!
 Now it's time to check your Sesame Oil. Take a piece of rice and drop it in the pan/wok..did it sizzle? If it did, it's show time. Add the Rice, Shrimp, and veggies to the pan. Stir it up a little to incorporate everything together. 

Once Everything is all mixed up, pour your Liquid Amino mix into the pan & stir, stir, stir for about 5 mins. 
 After about 5 mins, you're going to add your scrambled eggs to the party. Just pour them right on top and keep mixing in the pan for 2-3 more mins. 
 Easy enough right? Serve it up nice & hot!

As for nutritional information, per www.myfitnesspal.com, the following was my results. Please note that this is just an estimate. The nutritional value of your meal will vary depending on the ingredients you choose & portions you add. It should be used as a guide and not a definite. Happy eating loves!

                                     Calories           Carbs        Fat        Protein        Sodium        Sugar
Total:1,788181321736,03721
Per Serving:255265258623


Monday, September 30, 2013

Rosemary Grilled Pork & Parmesan Kale Twice Baked Sweet Potatoes

IMG_2025
Since starting this whole "clean eating movement" in my own home, I have really pushed myself to try new things that I would have never tried before. Cauliflower!? Yuck..just eat broccoli if you have to. Kale!? The heck is that!? Baked potatoes? All the fixins please!!
I had the tastebuds of a toddler..
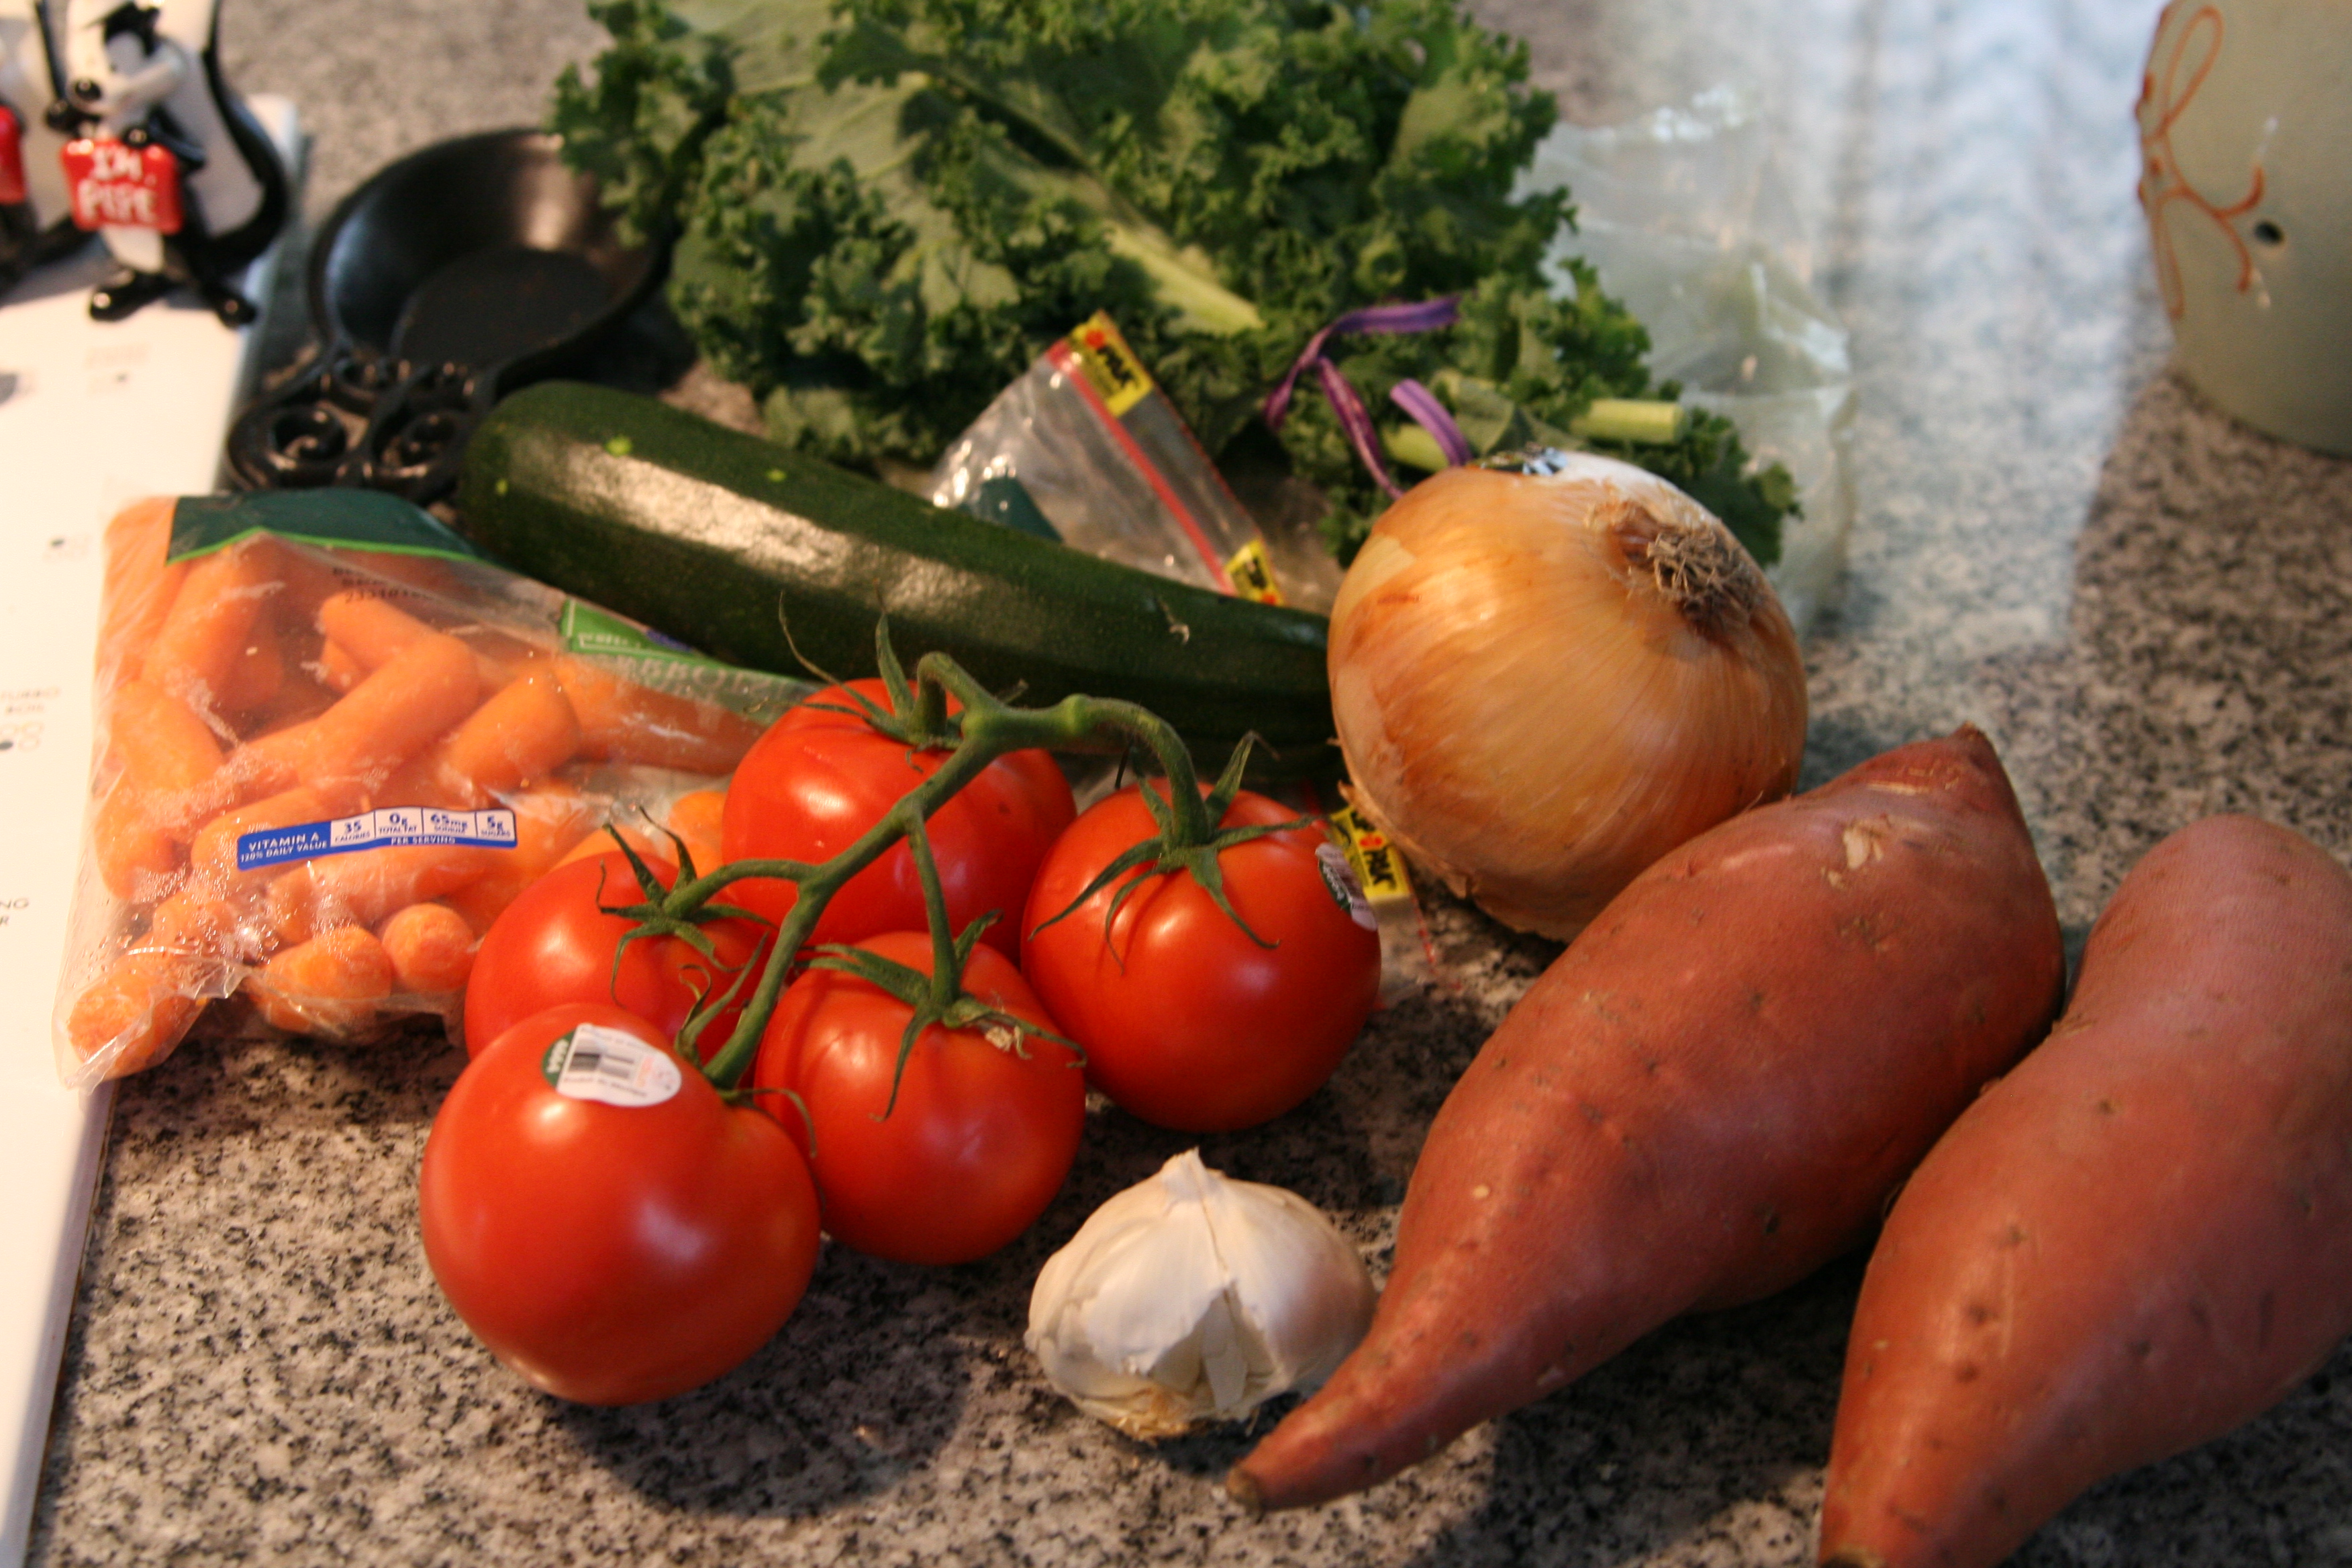
Above is a mix of veggies that I roast in the oven and now always ALWAYS have ready in the fridge. I can take 1/2 a cup and heat it up in a small frying pan (no oil needed) and once its gotten a little crunchy on the outside, and warm on the inside, I cook an egg over easy in the same pan and rest it on top for a DELICIOUS and one of my favorite breakfasts EVER. (And I love me some breakfast!) I can have it for a snack in some lettuce cups, I can eat it for lunch or dinner as a side..It is SO good..you will have trouble finding meals to not eat it with.
Anyways, I had some extra sweet potato (I prefer to have more zucchini/tomato/squash in the mix compared to sweet potato) so I decided to do a baked potato :) I wrapped the washed/dried sweet potato in some aluminum foil with some cooking spray inside, to keep the skin from mushing, poked a few holes in it with a fork and set it in the oven at 350 degrees for 1-2 hours. Once they are done cooking (my mom taught me to stick them with a steak knife and when it goes in smooth they are good to go) take them out of the aluminum foil and let them cool so you don't burn your finger tips clean off your beautiful hands.
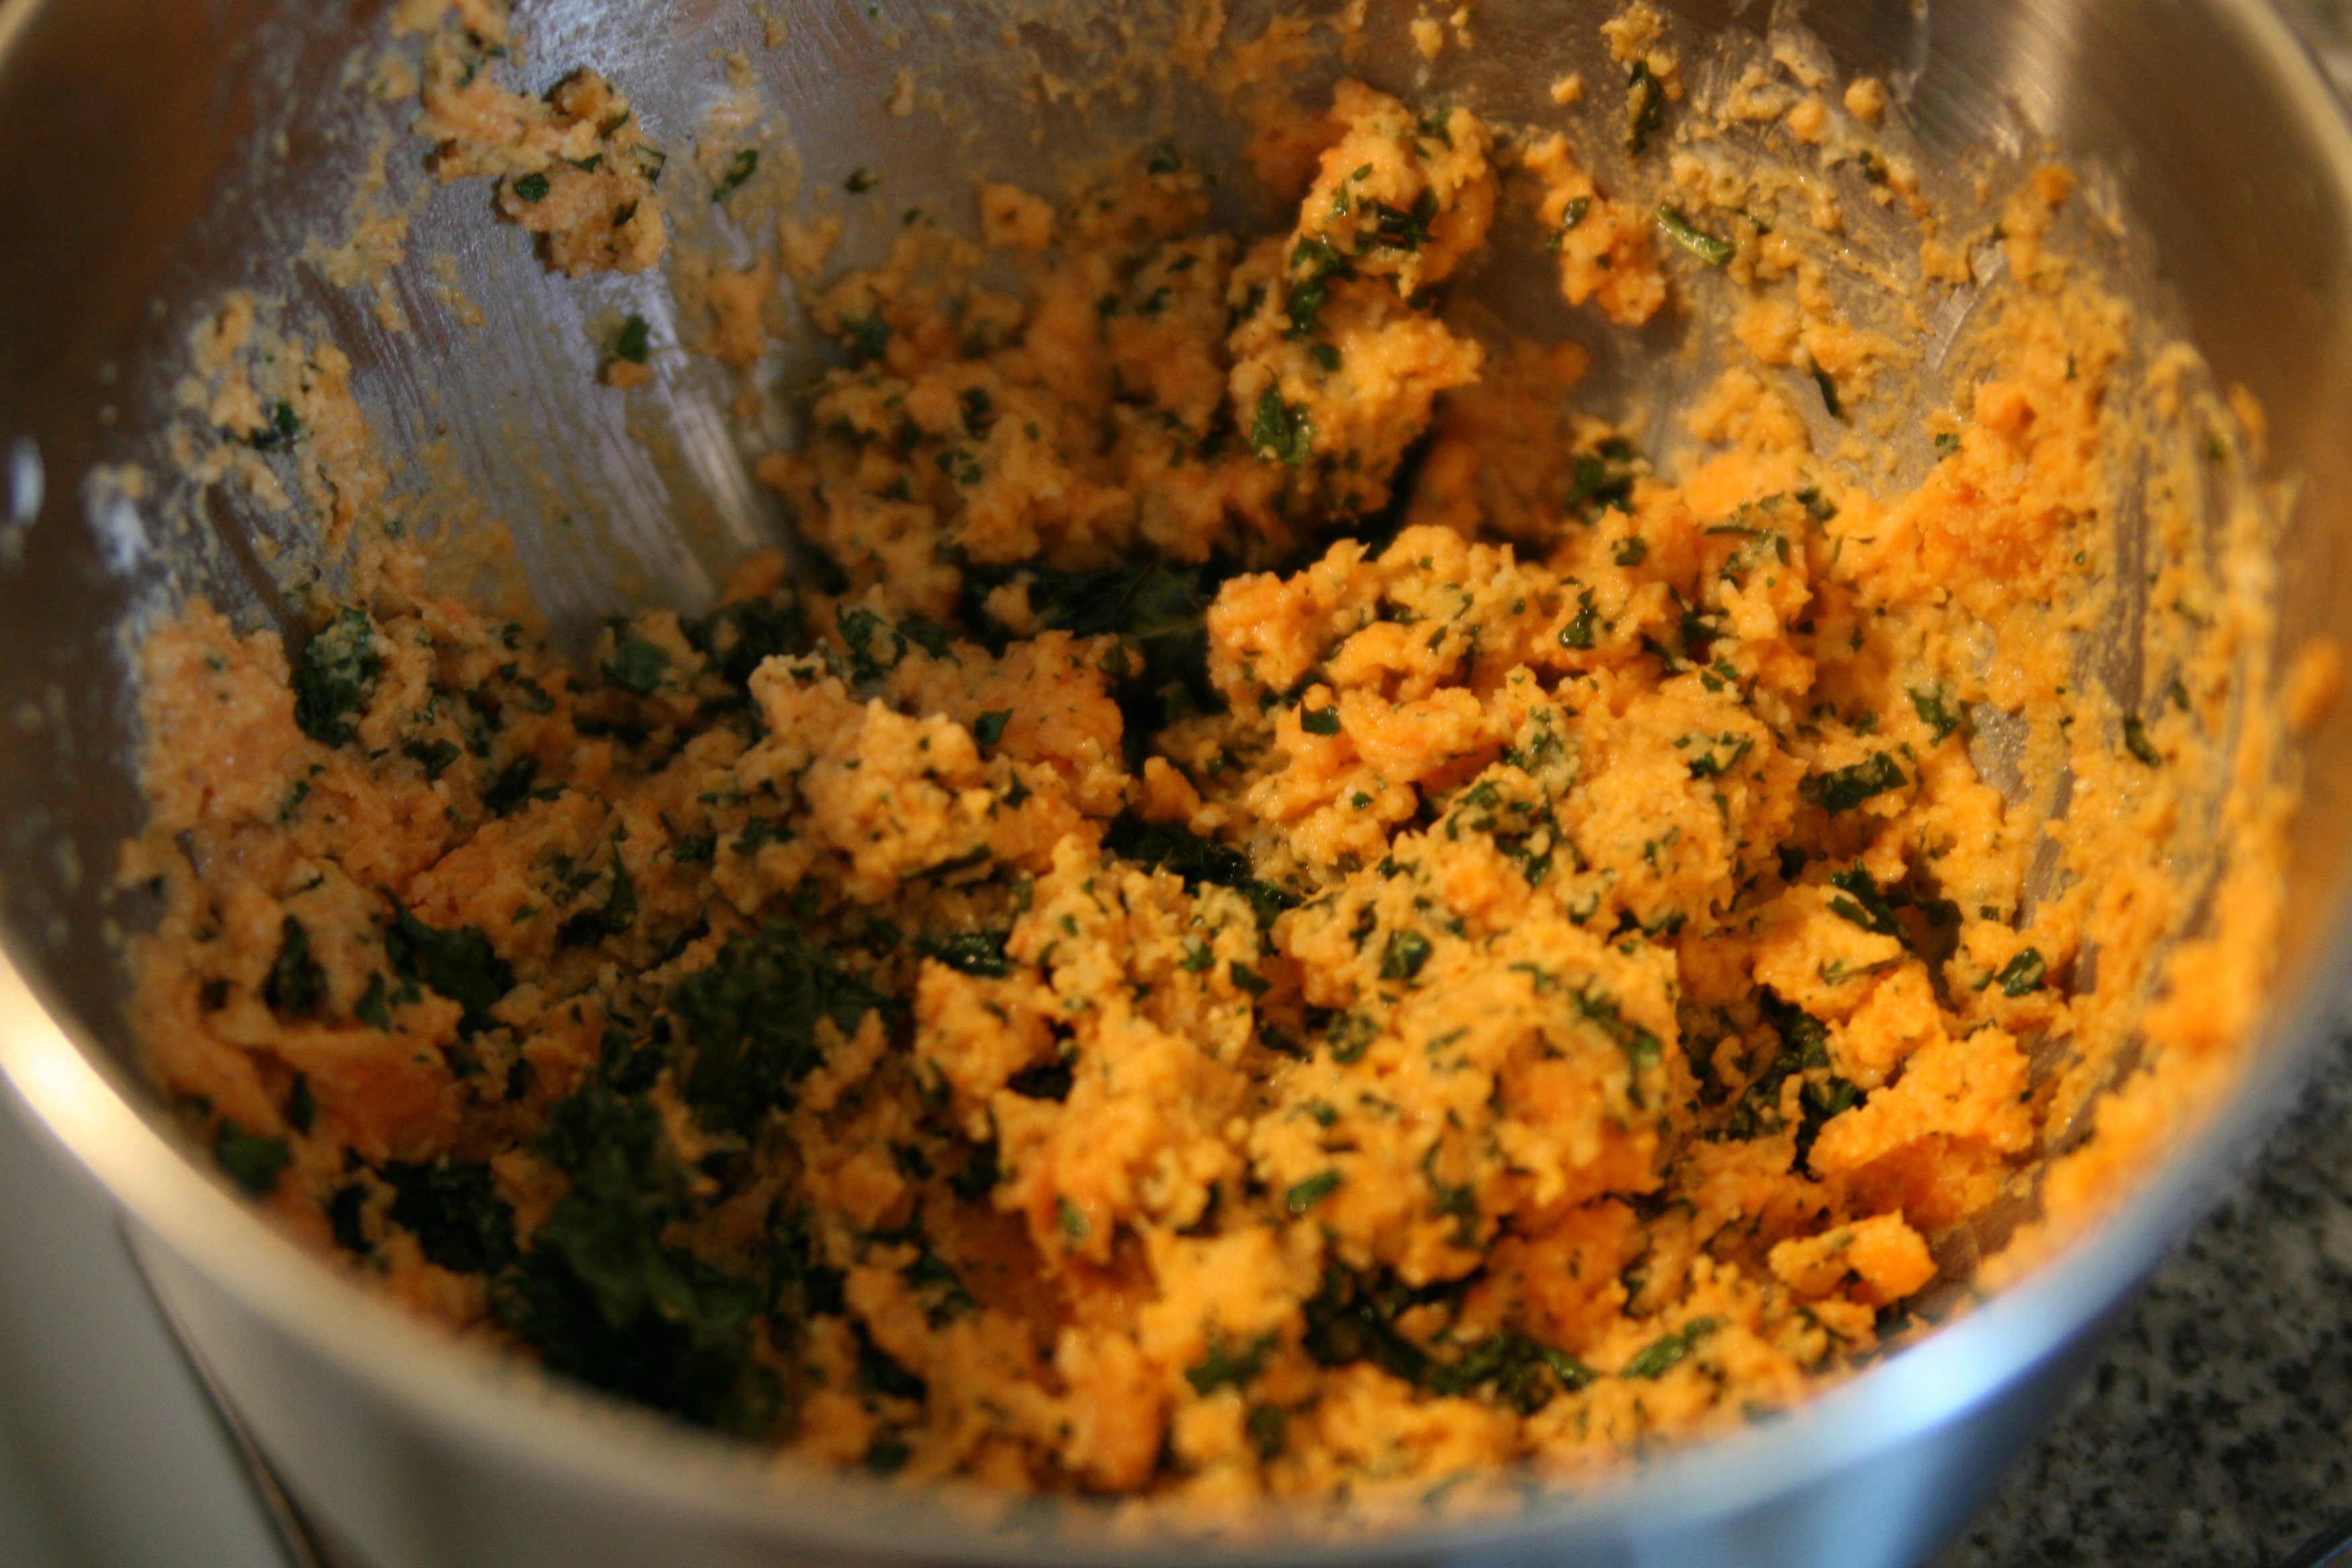
I spooned out the insides of the sweet potato, leaving about 1/4 of an inch still inside to keep it's shape. In the bowl with the sweet potato innards (ha) I added 1/4 a cup of shredded parmesan cheese, a little salt & pepper, 1/4 a cup of non fat greek yogurt, and some kale chips I made earlier (see my previous blog entry with the recipe for KALE CHIPS here)
IMG_2028
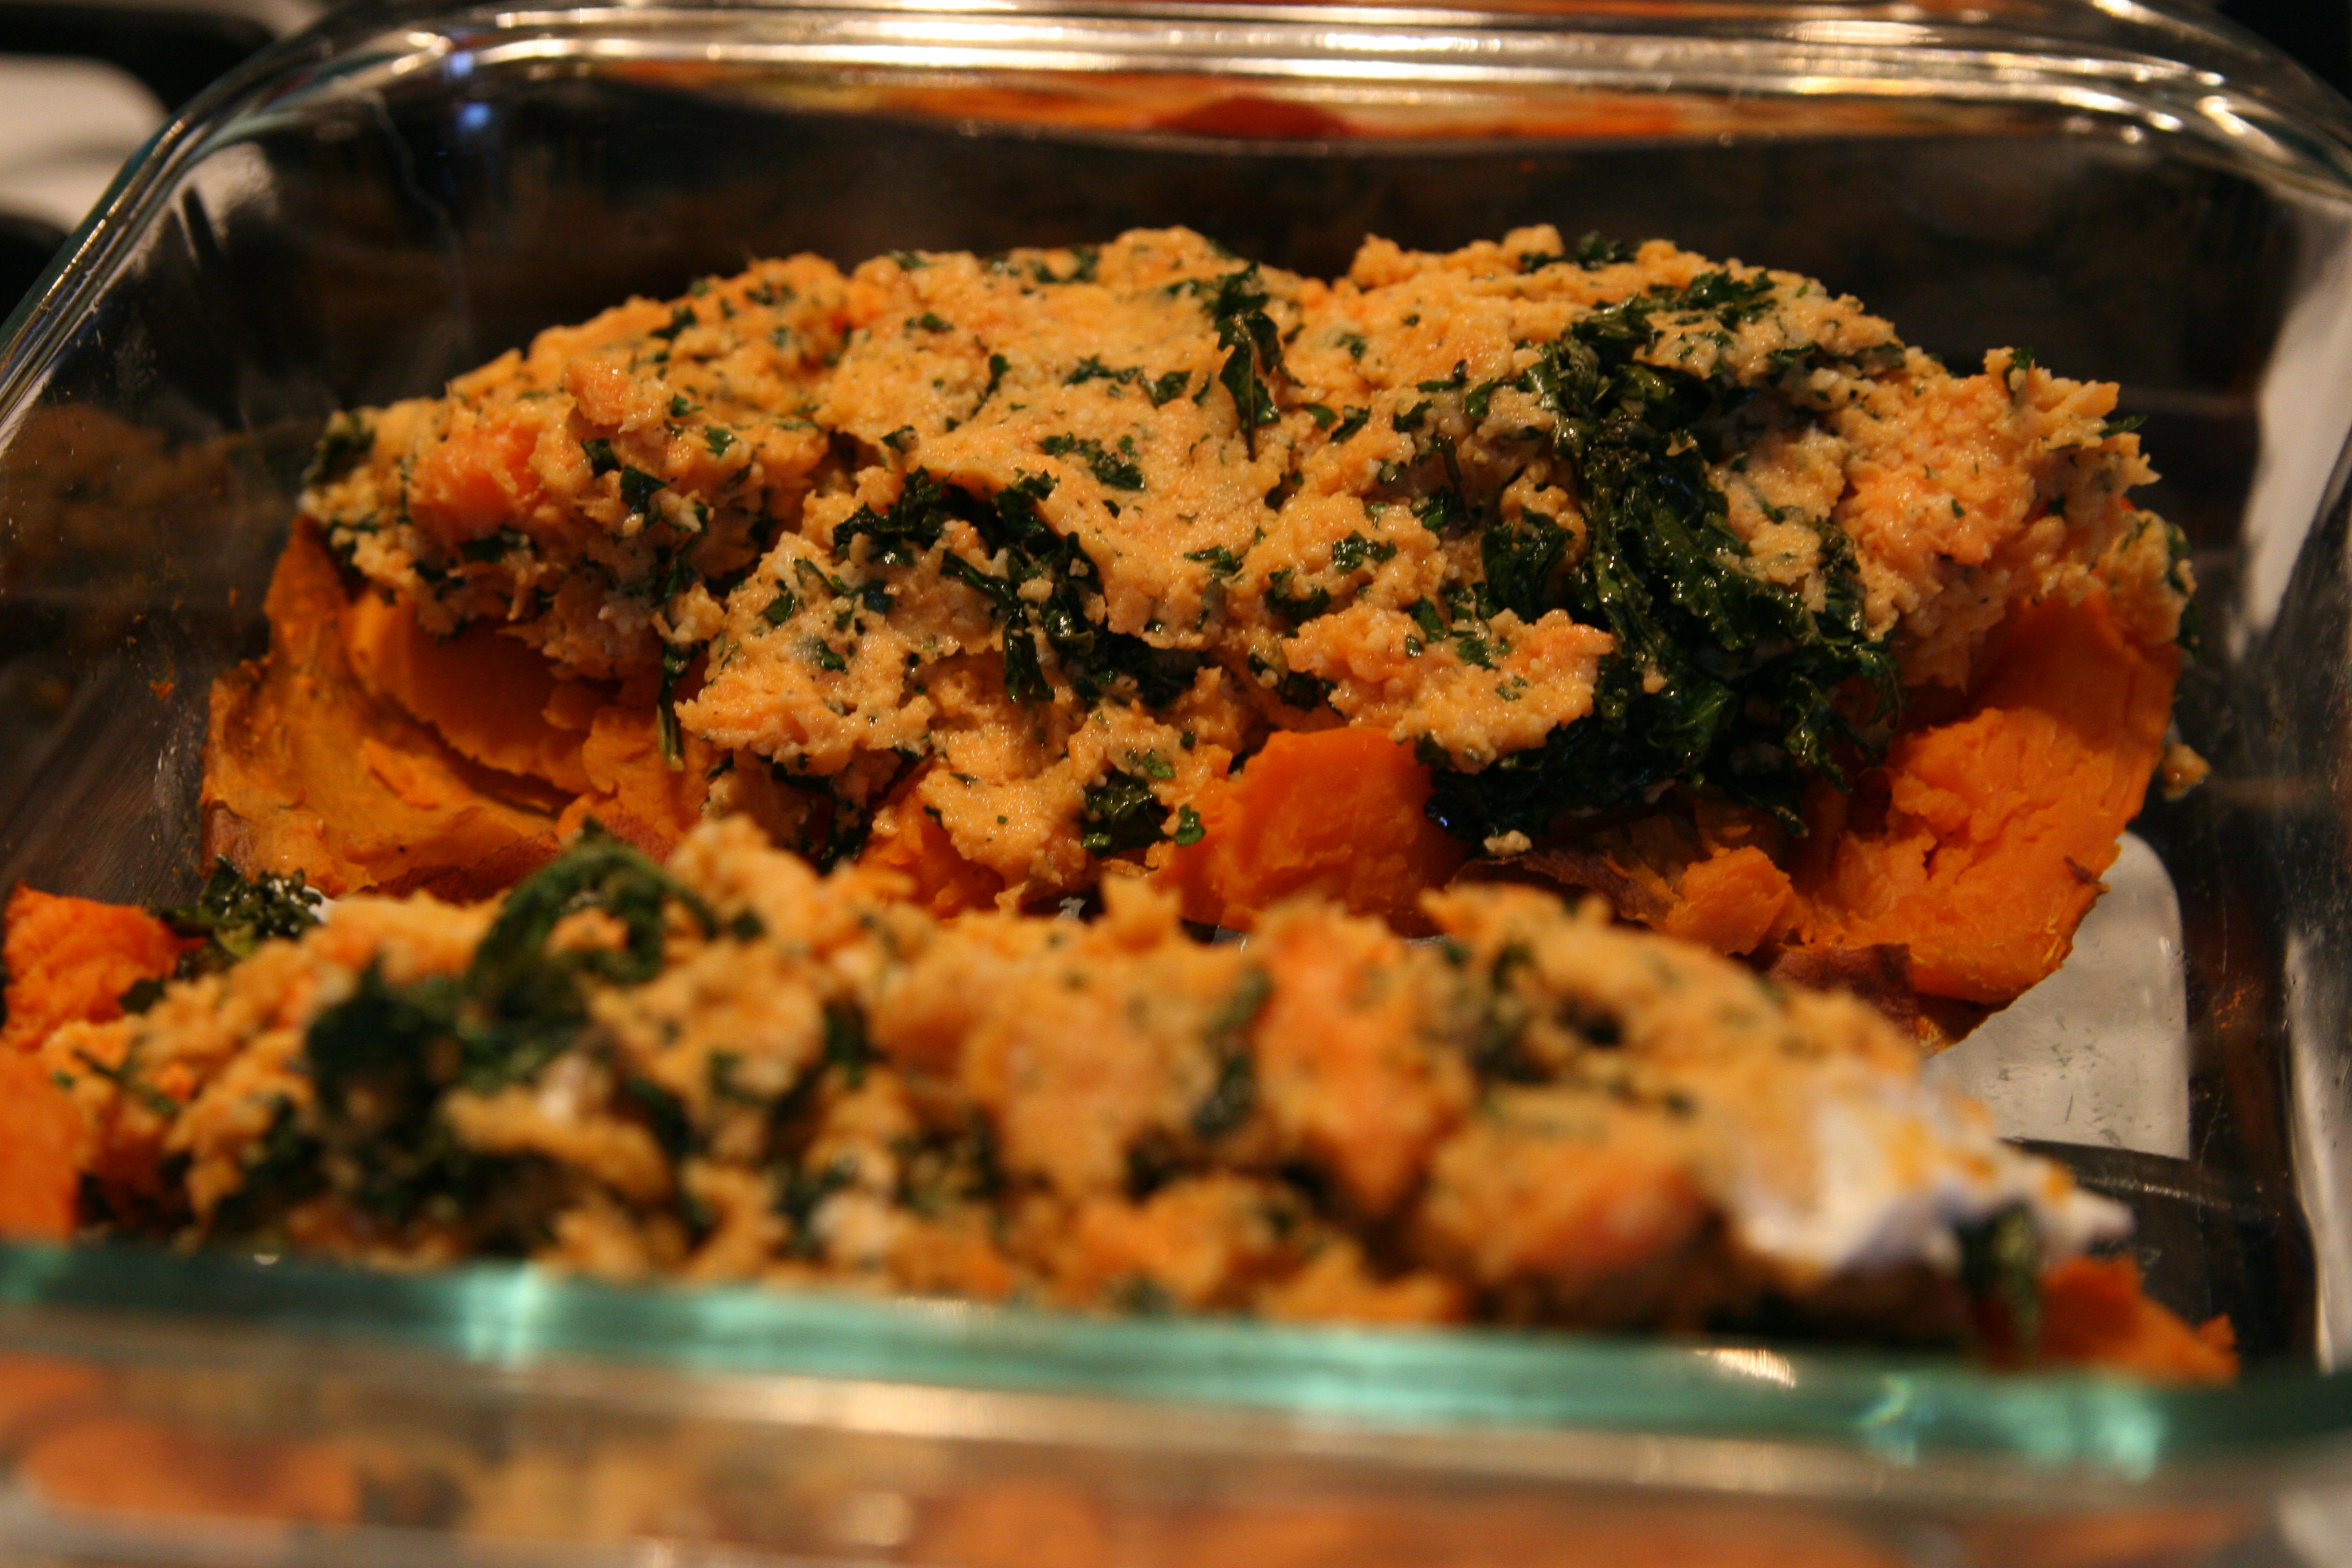
After I mixed everything up really well (I like to leave a few larger sweet potato chunks just for consistency preferences but there's really no wrong way to mix it up.) I spooned them back into the potato skins and popped them back into the oven..
IMG_2032
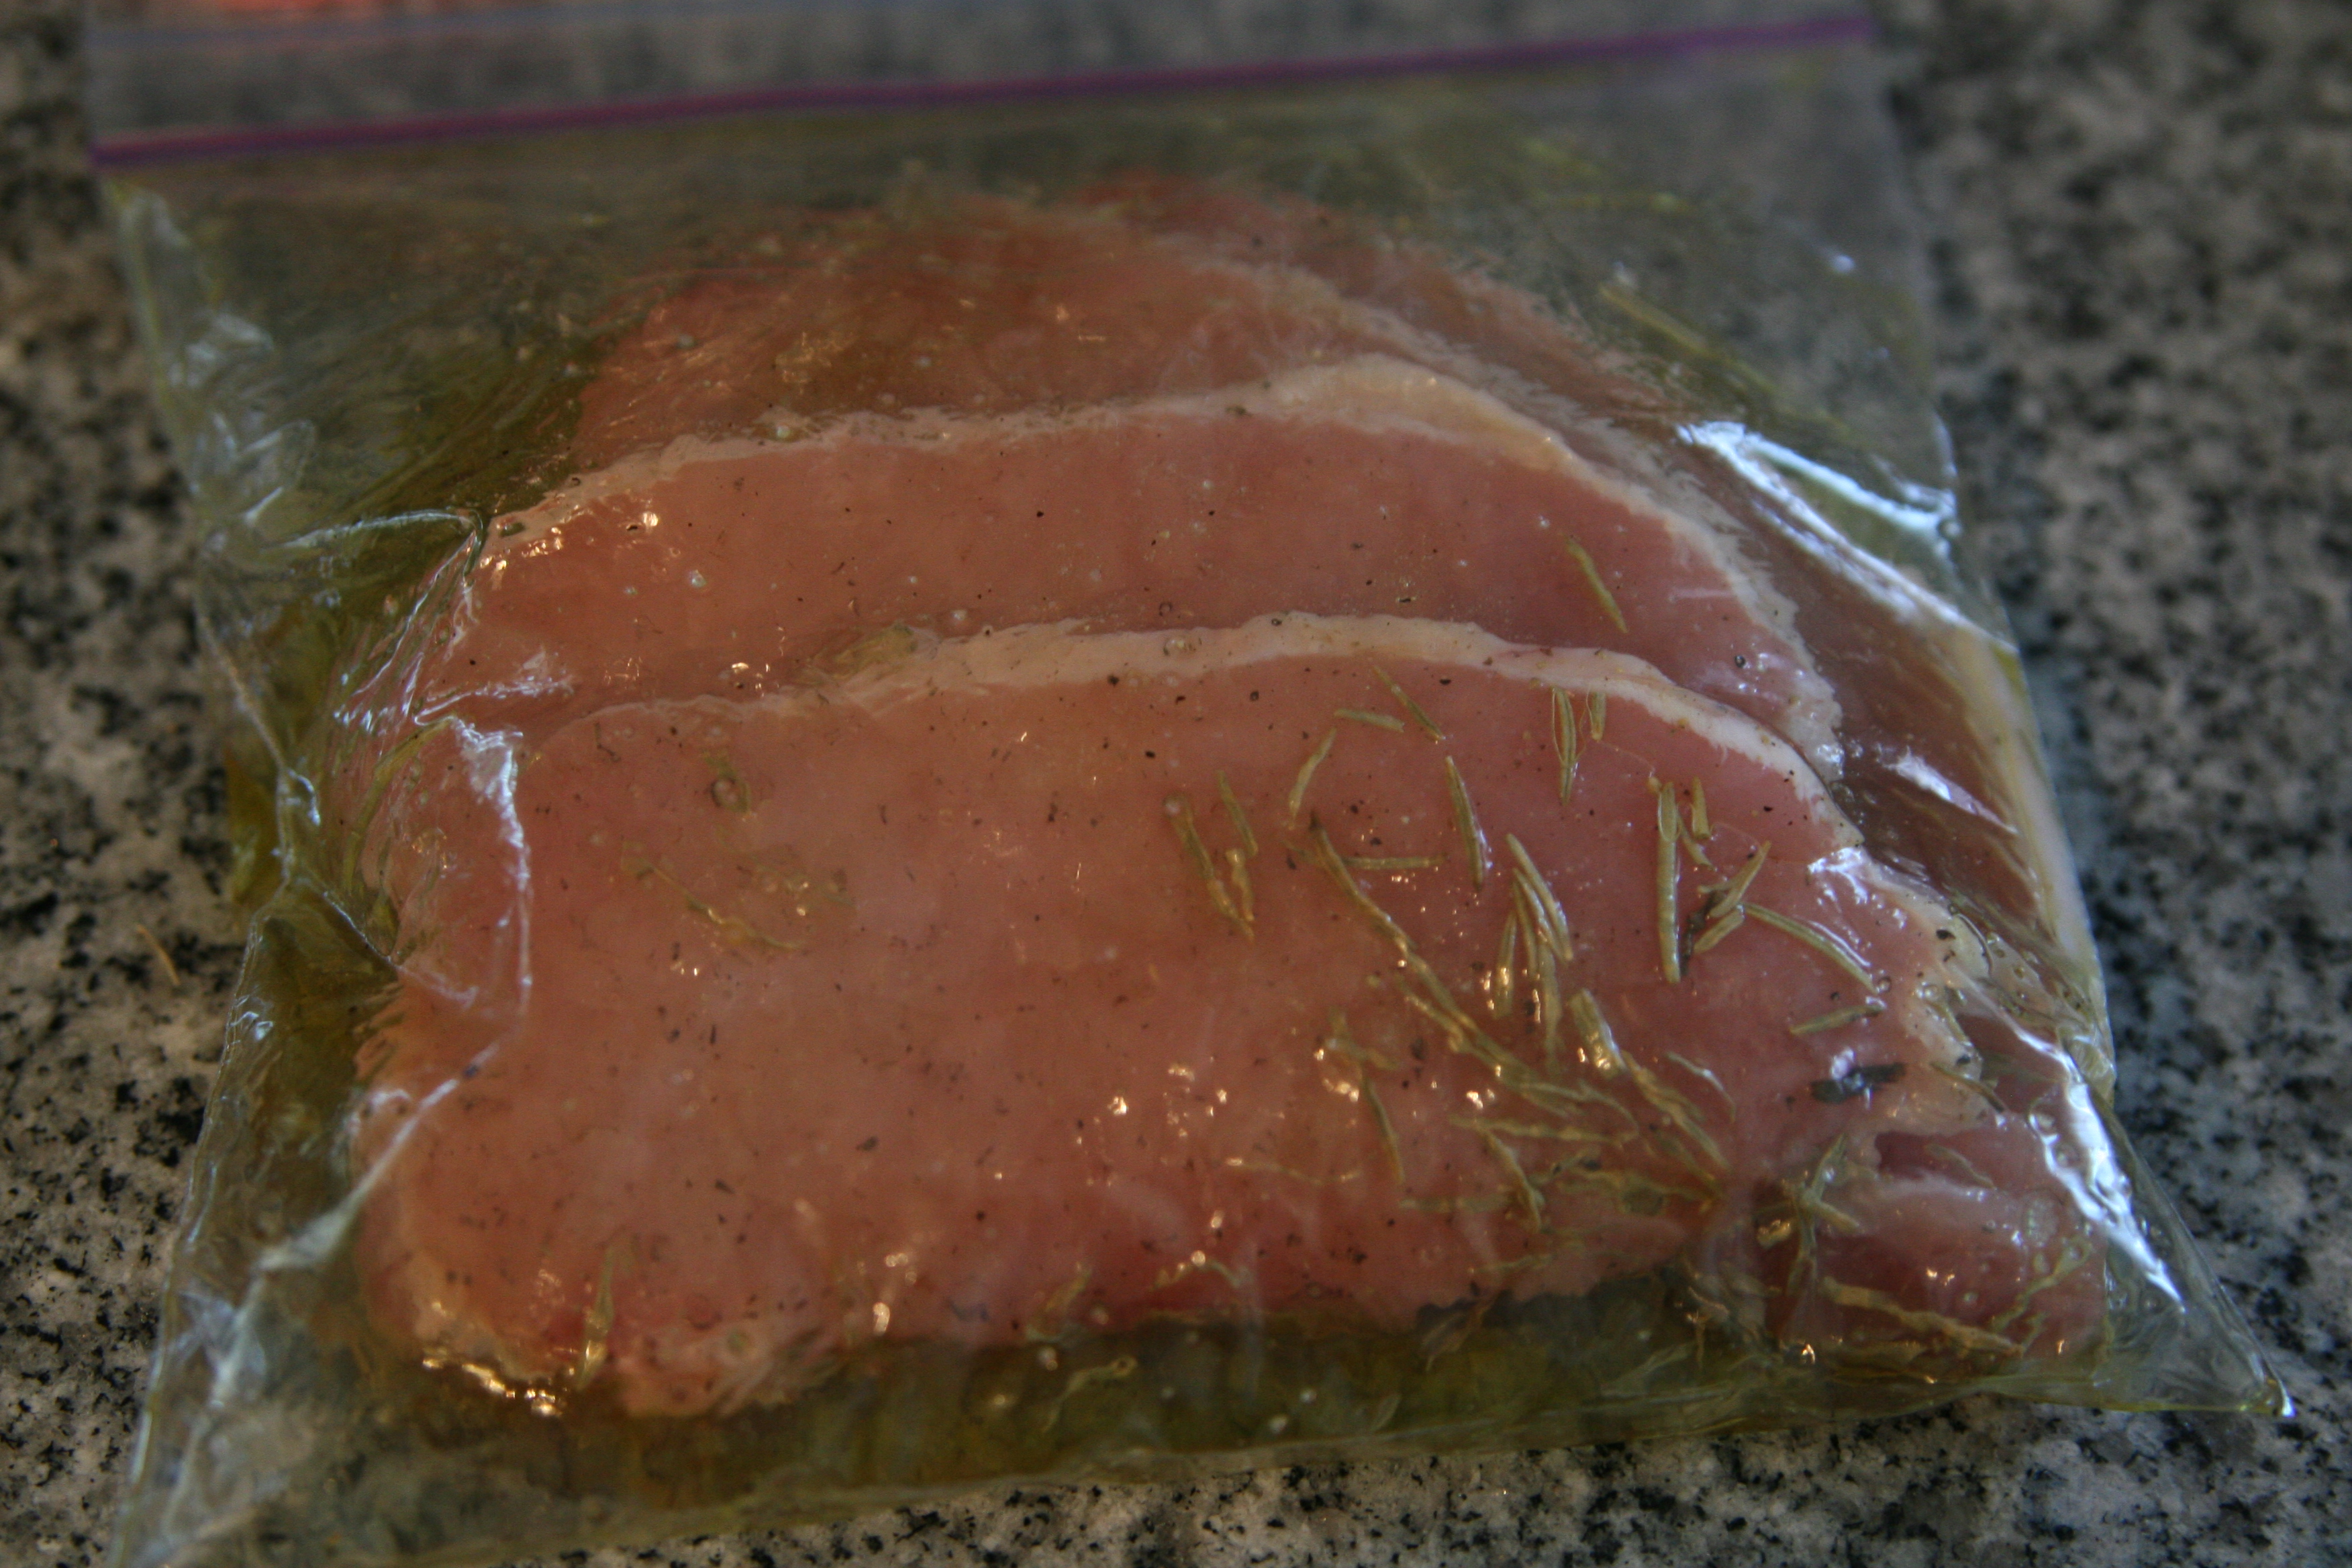
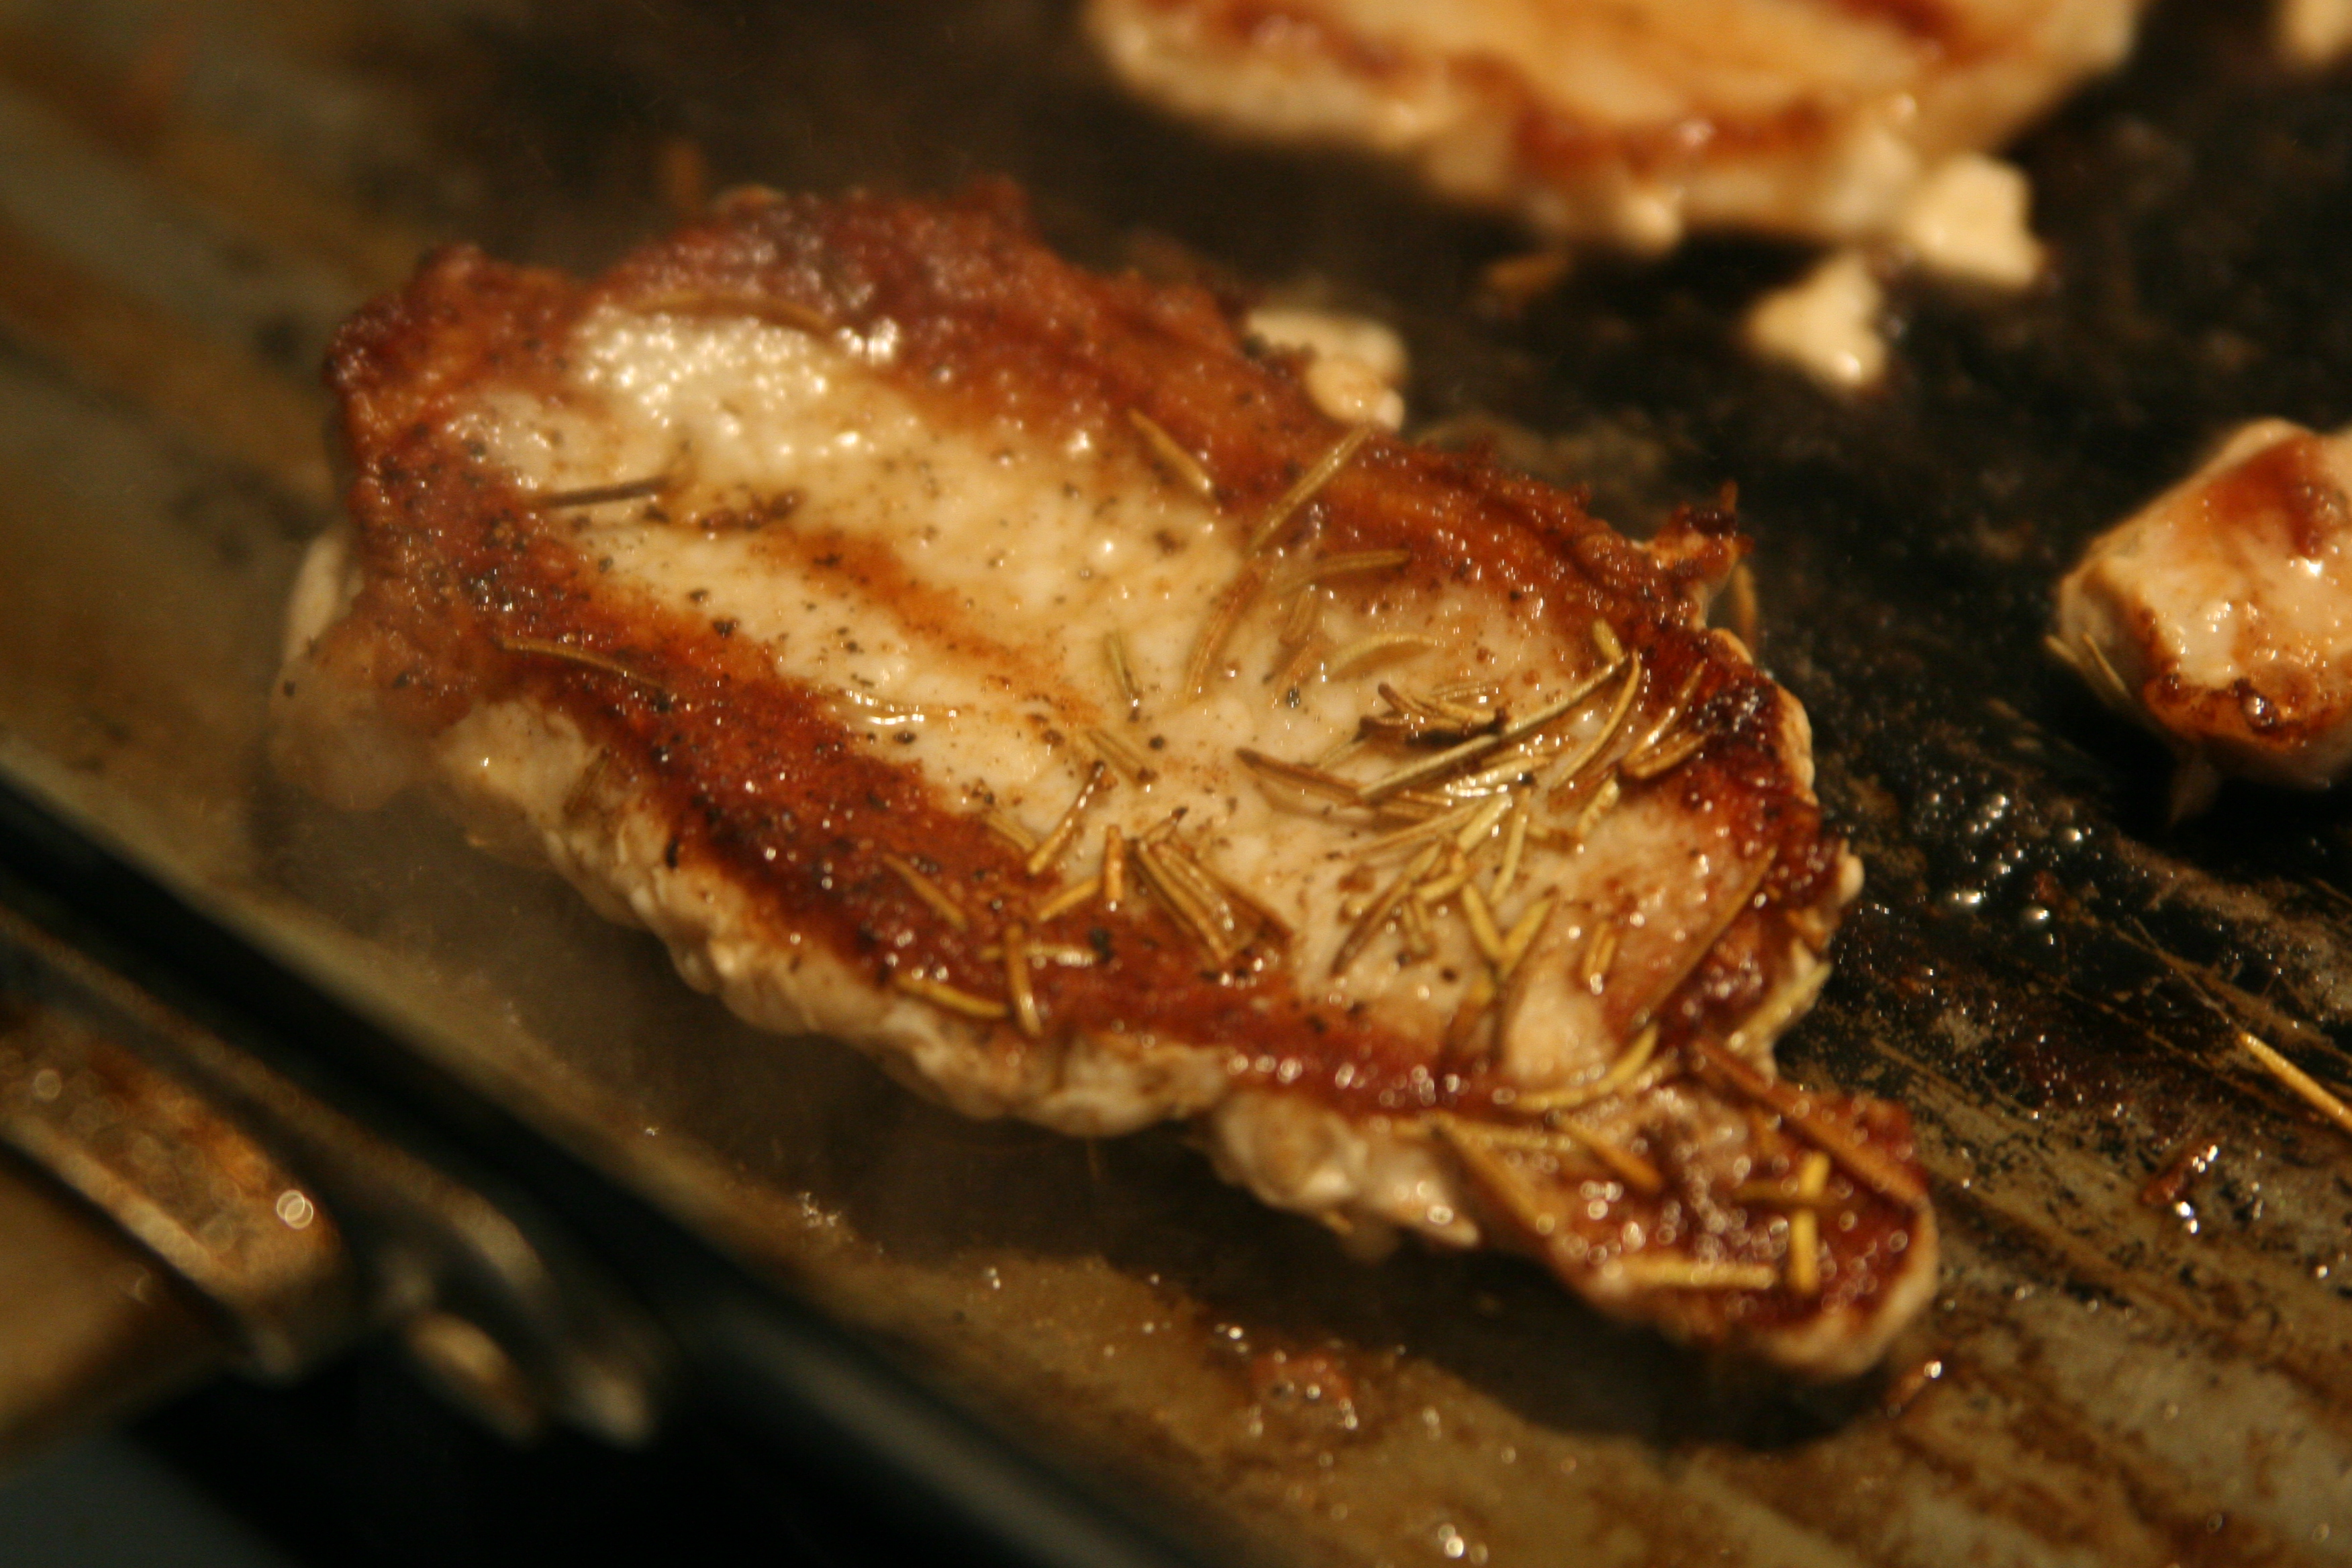
While those were browning up on top I took the thin pork loin I marinated earlier (lean meat for $2.20!? I'm not too proud for clearance meat haha).. I had put them in a ziplock baggy with a tablespoon of olive oil, 1/2 a tablespoon of rosemary, and a little salt and pepper and let them sit in the fridge for about 30 minutes.
IMG_2027
Once I was ready to cook them, I heated up a grilling pan to med-high heat and cooked them until my handy dandy meat thermometer read 160 degrees.
IMG_2034
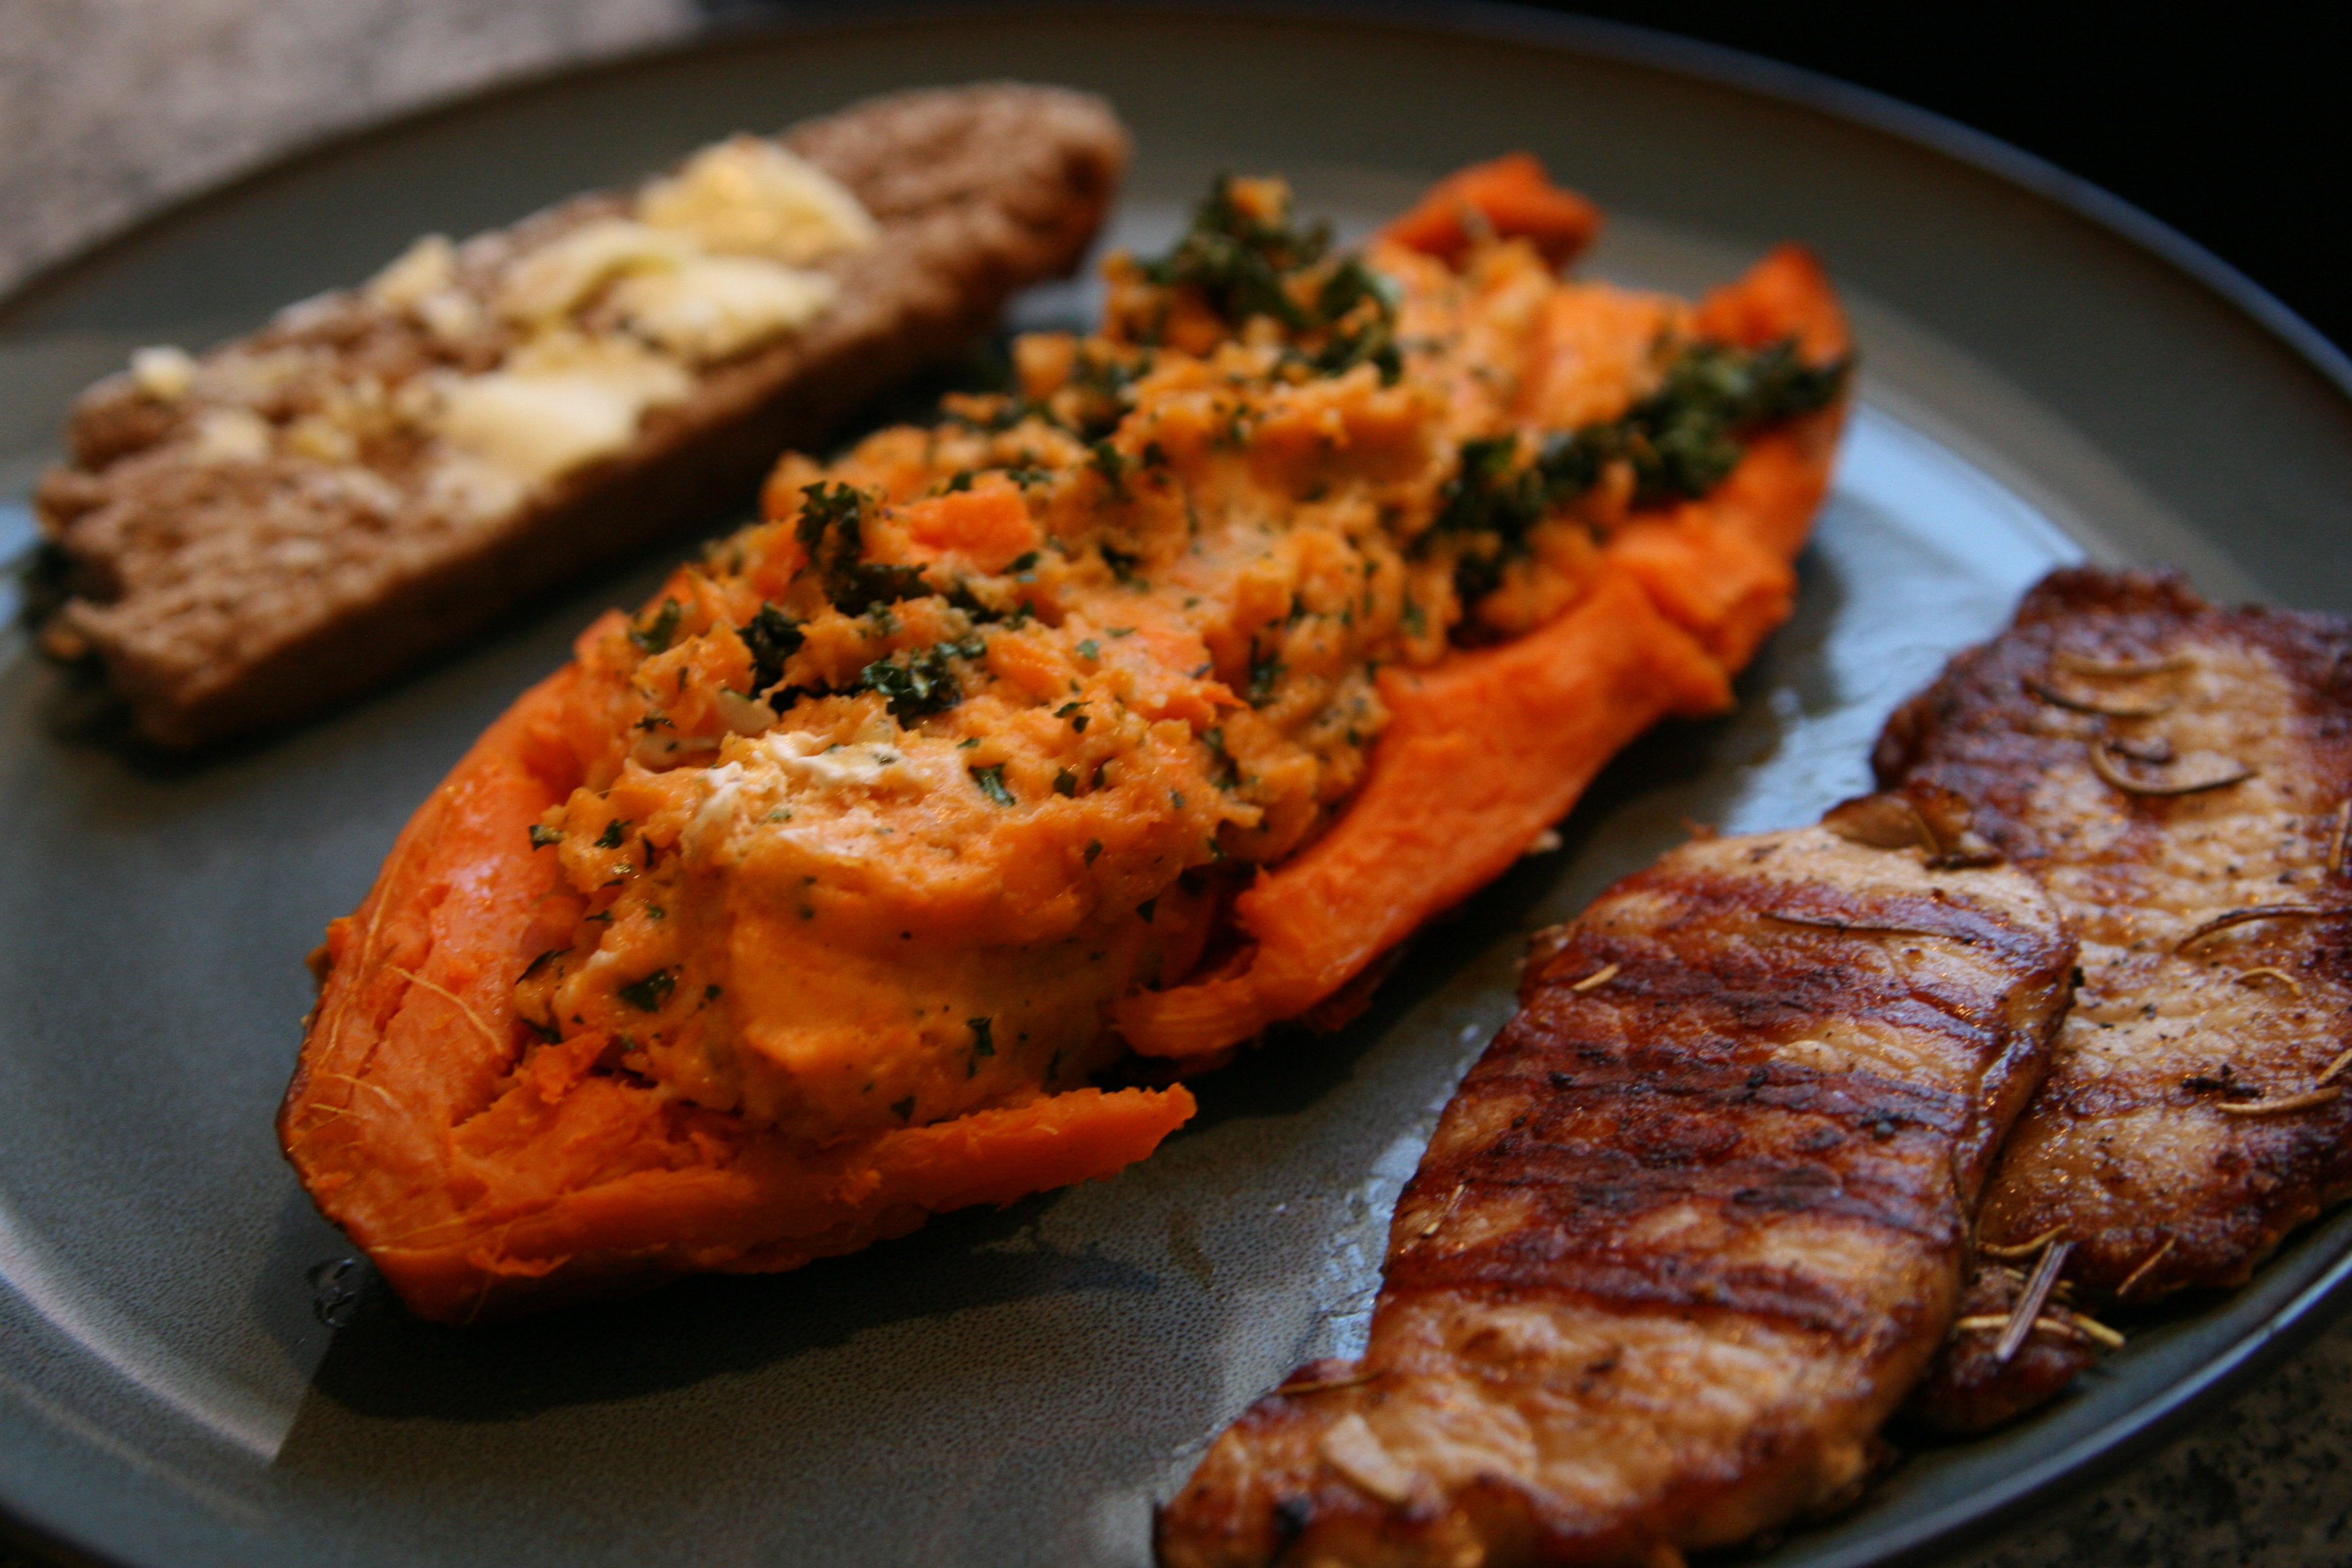
Due to my planning ahead, the pork and sweet potato skins were ready at the same time. At that point, I think we would have eaten them raw because the house smelled so good we were starving.
IMG_2036
Very very tasty & very very easy. What are you waiting for?? Get to eating! ;)

Stuffed Chicken Breasts

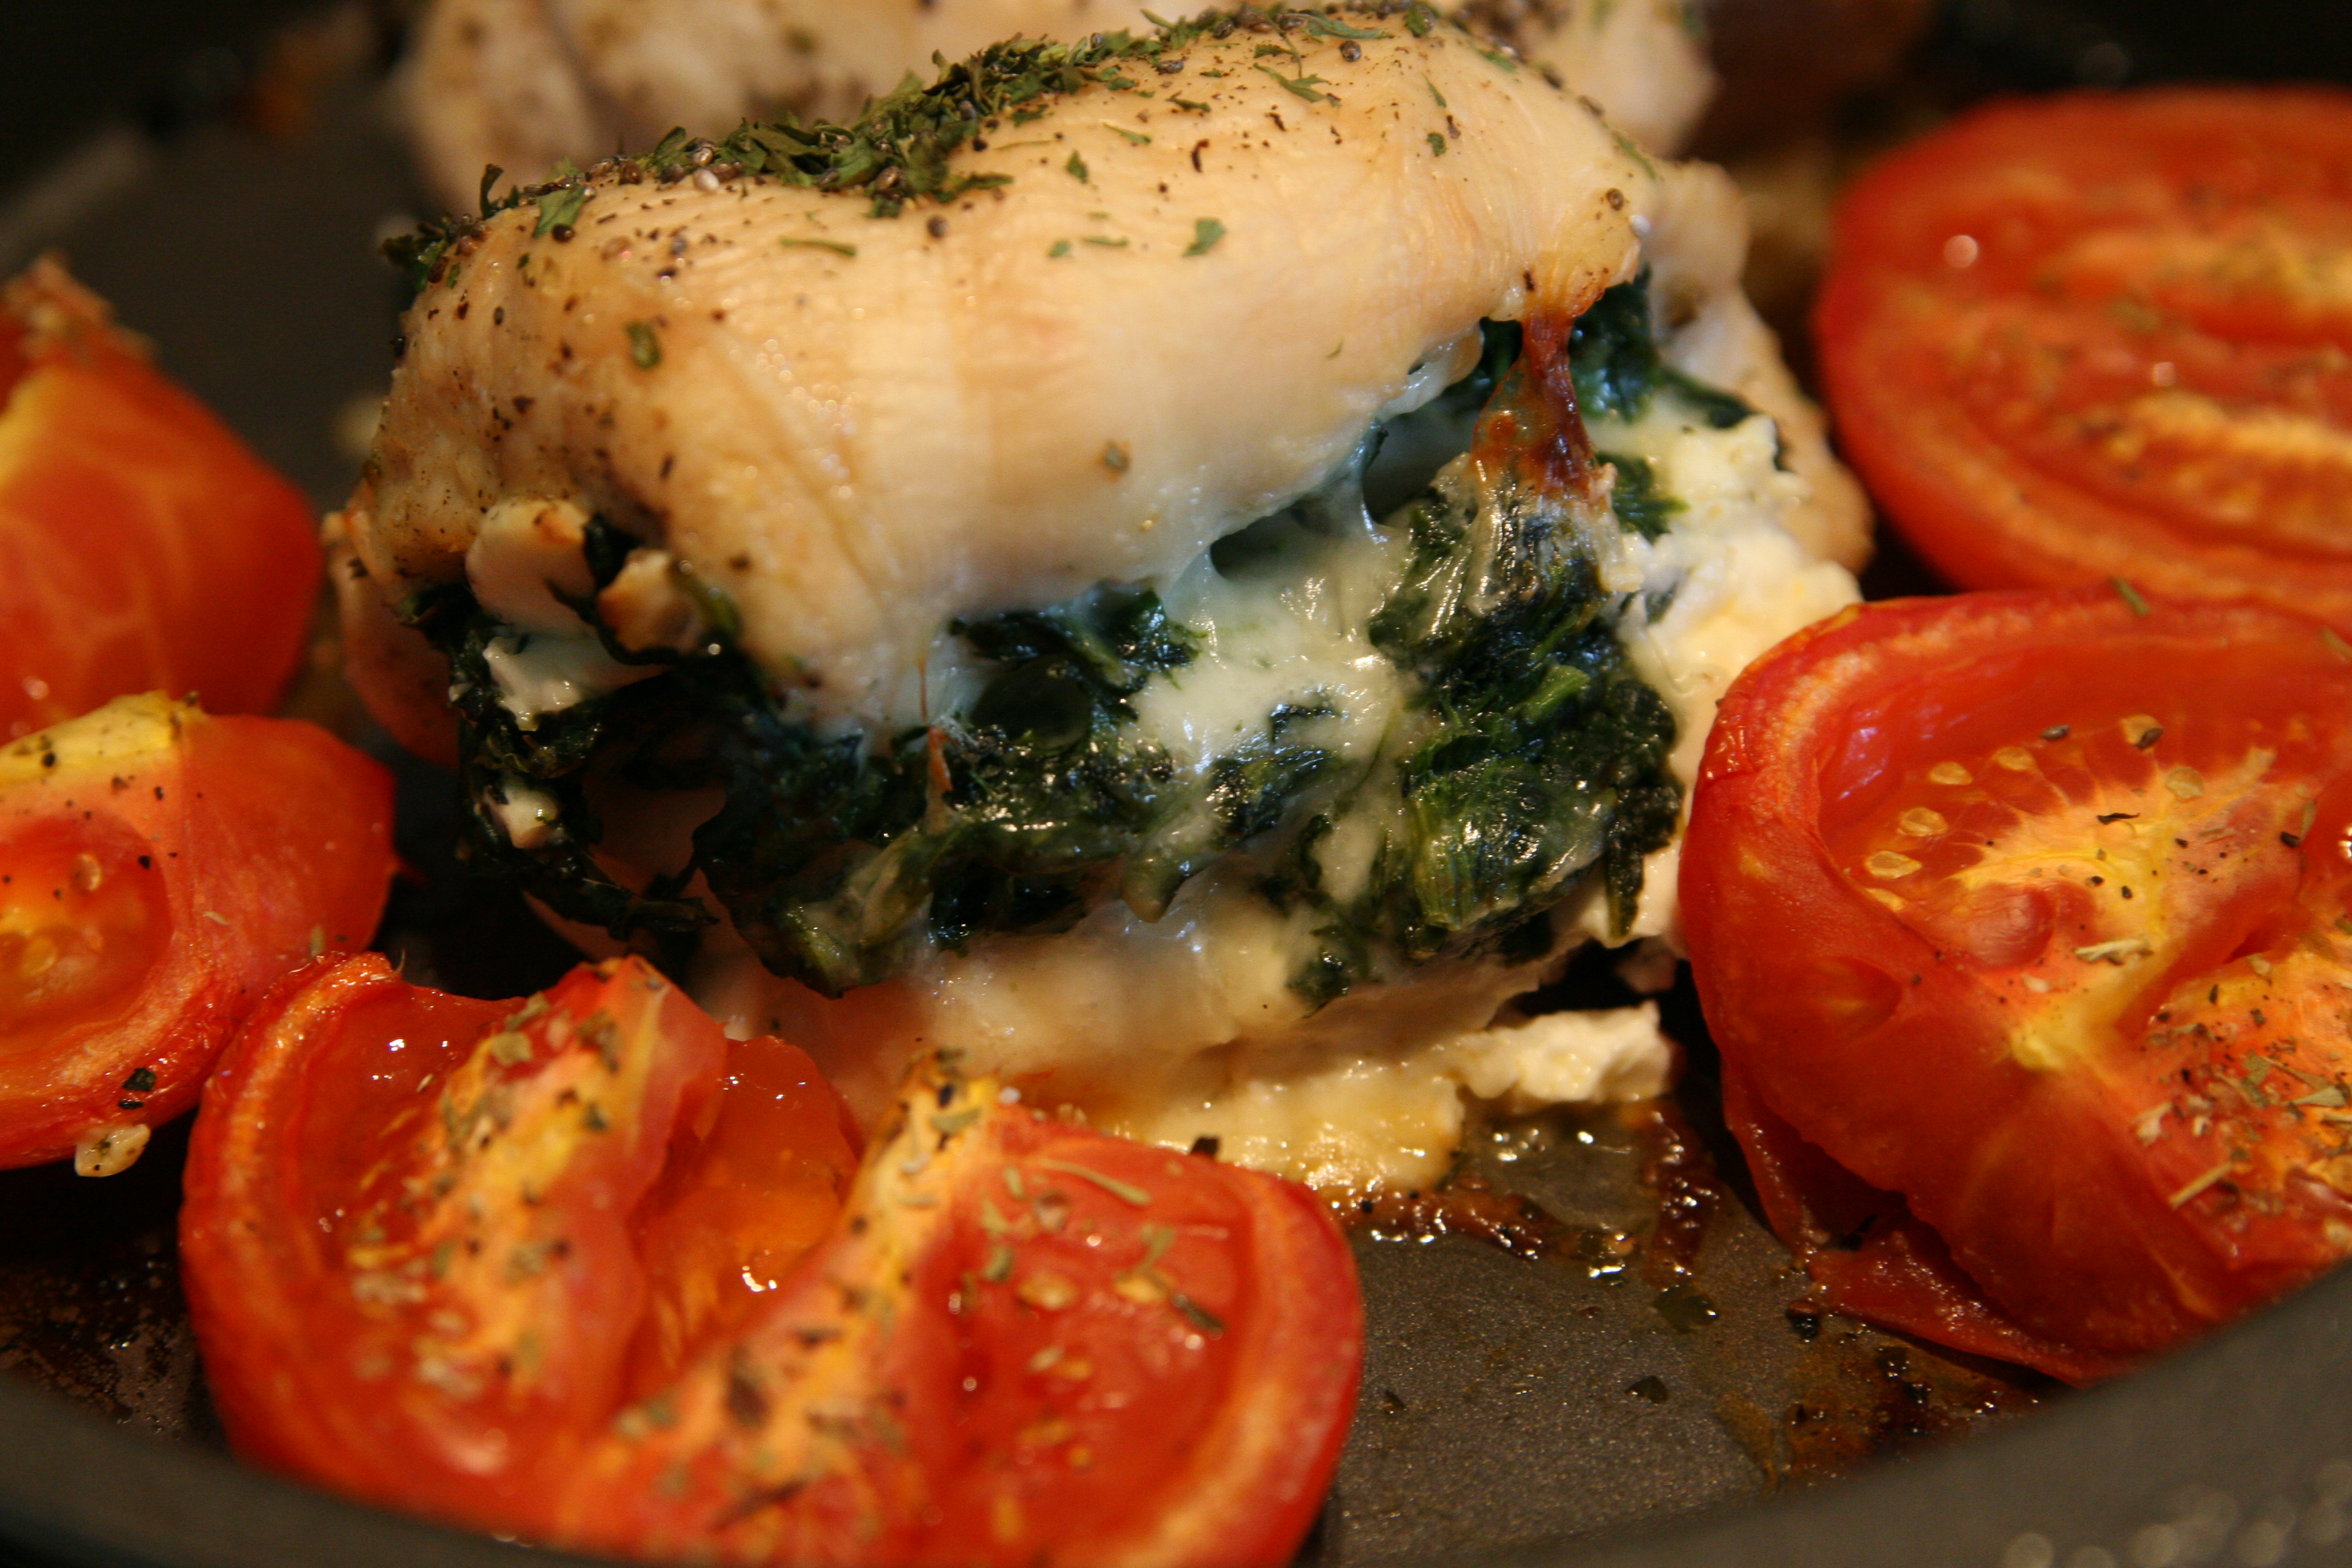
After running the kids around all day, I completely forgot that I hadn't planned out a dinner. Instead of throwing together a salad and some veggies, I decided to cook up the chicken breasts I conveniently had in the fridge. (My past self knowing my future self would probably neglect my chef duties today.)
Now, I just threw in ingredients that sounded good to us/we had on hand but here it goes:
Ingredients (per chicken breast):
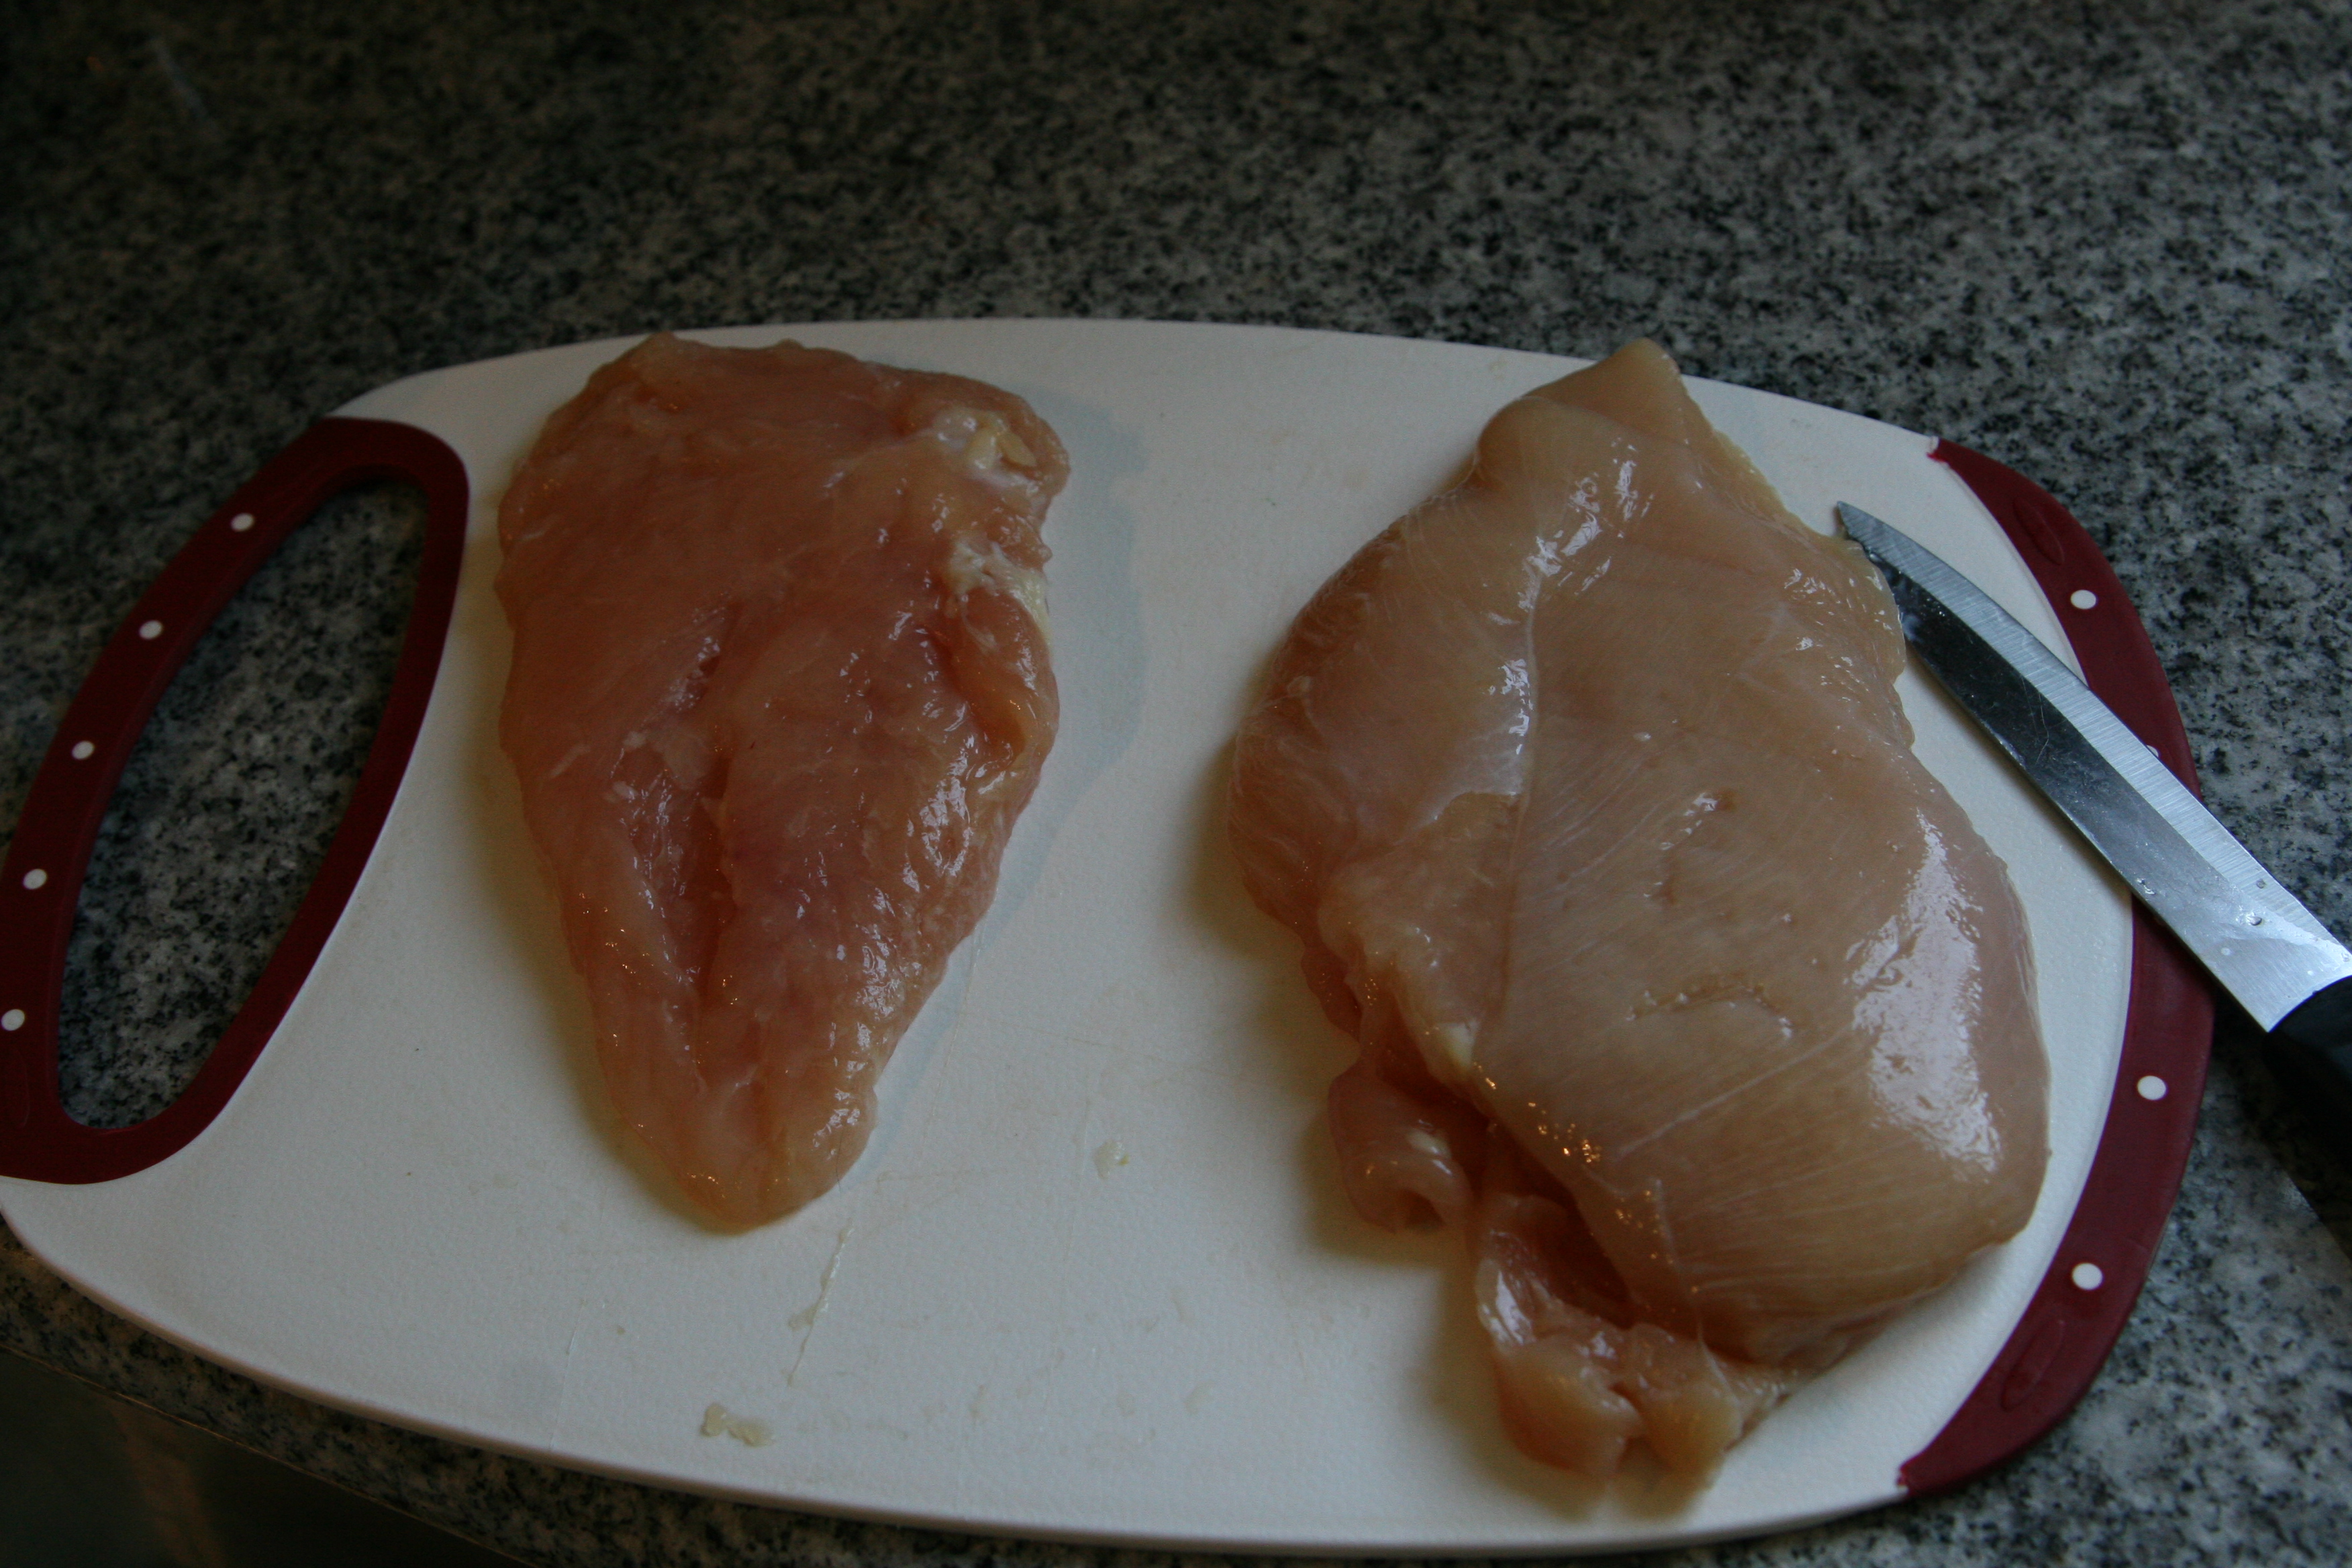
1 Boneless skinless chicken breast (Tenderized to about 1/4 an inch...I don't have one of these newfangled gadgets so I use a ziplock bag and a heavy pan)
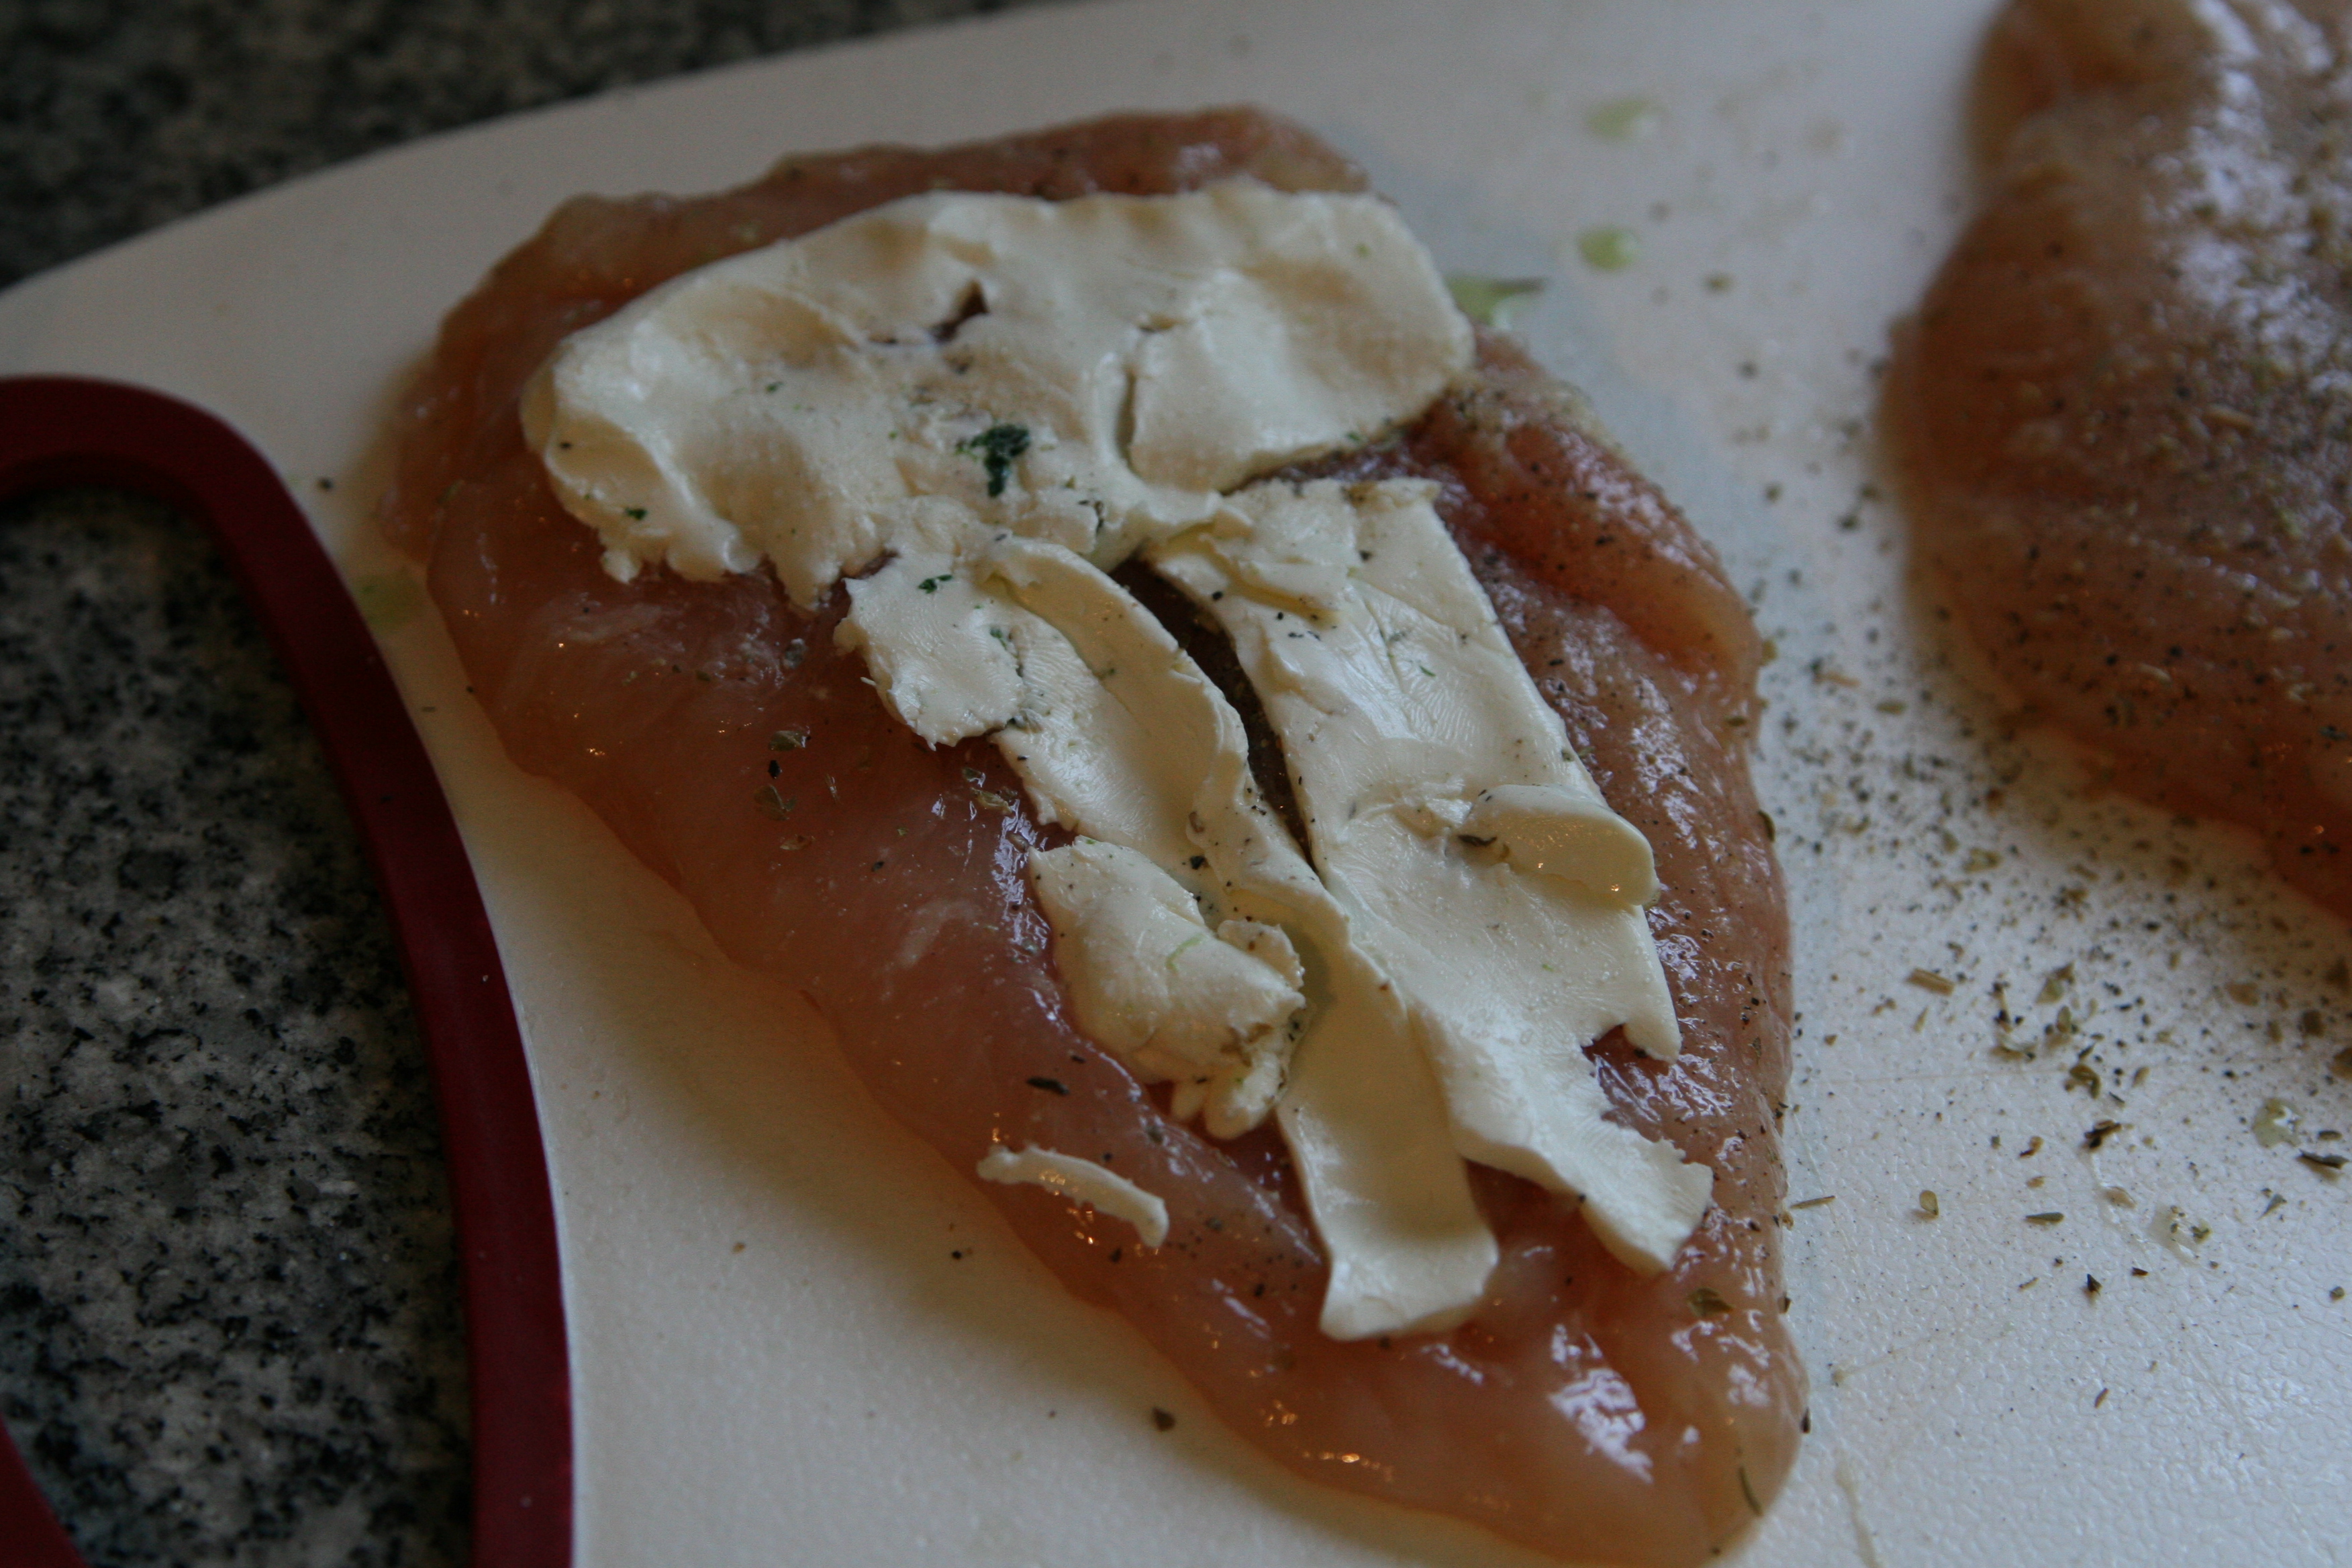
1tbs Cream cheese (no it's not clean, but what the hubby wants, the hubby gets)
1-2tbs Mozzarella cheese (see above)
about 1/4 a cup of Spinach (washed & drained well...I squeeze mine between some paper towels to get the extra water out)
some salt and pepper & oregano to taste
1 Roma tomato cut in half
Directions:
I preheated my oven to 375 degrees and got to pounding those breasts. HA!
IMG_2007
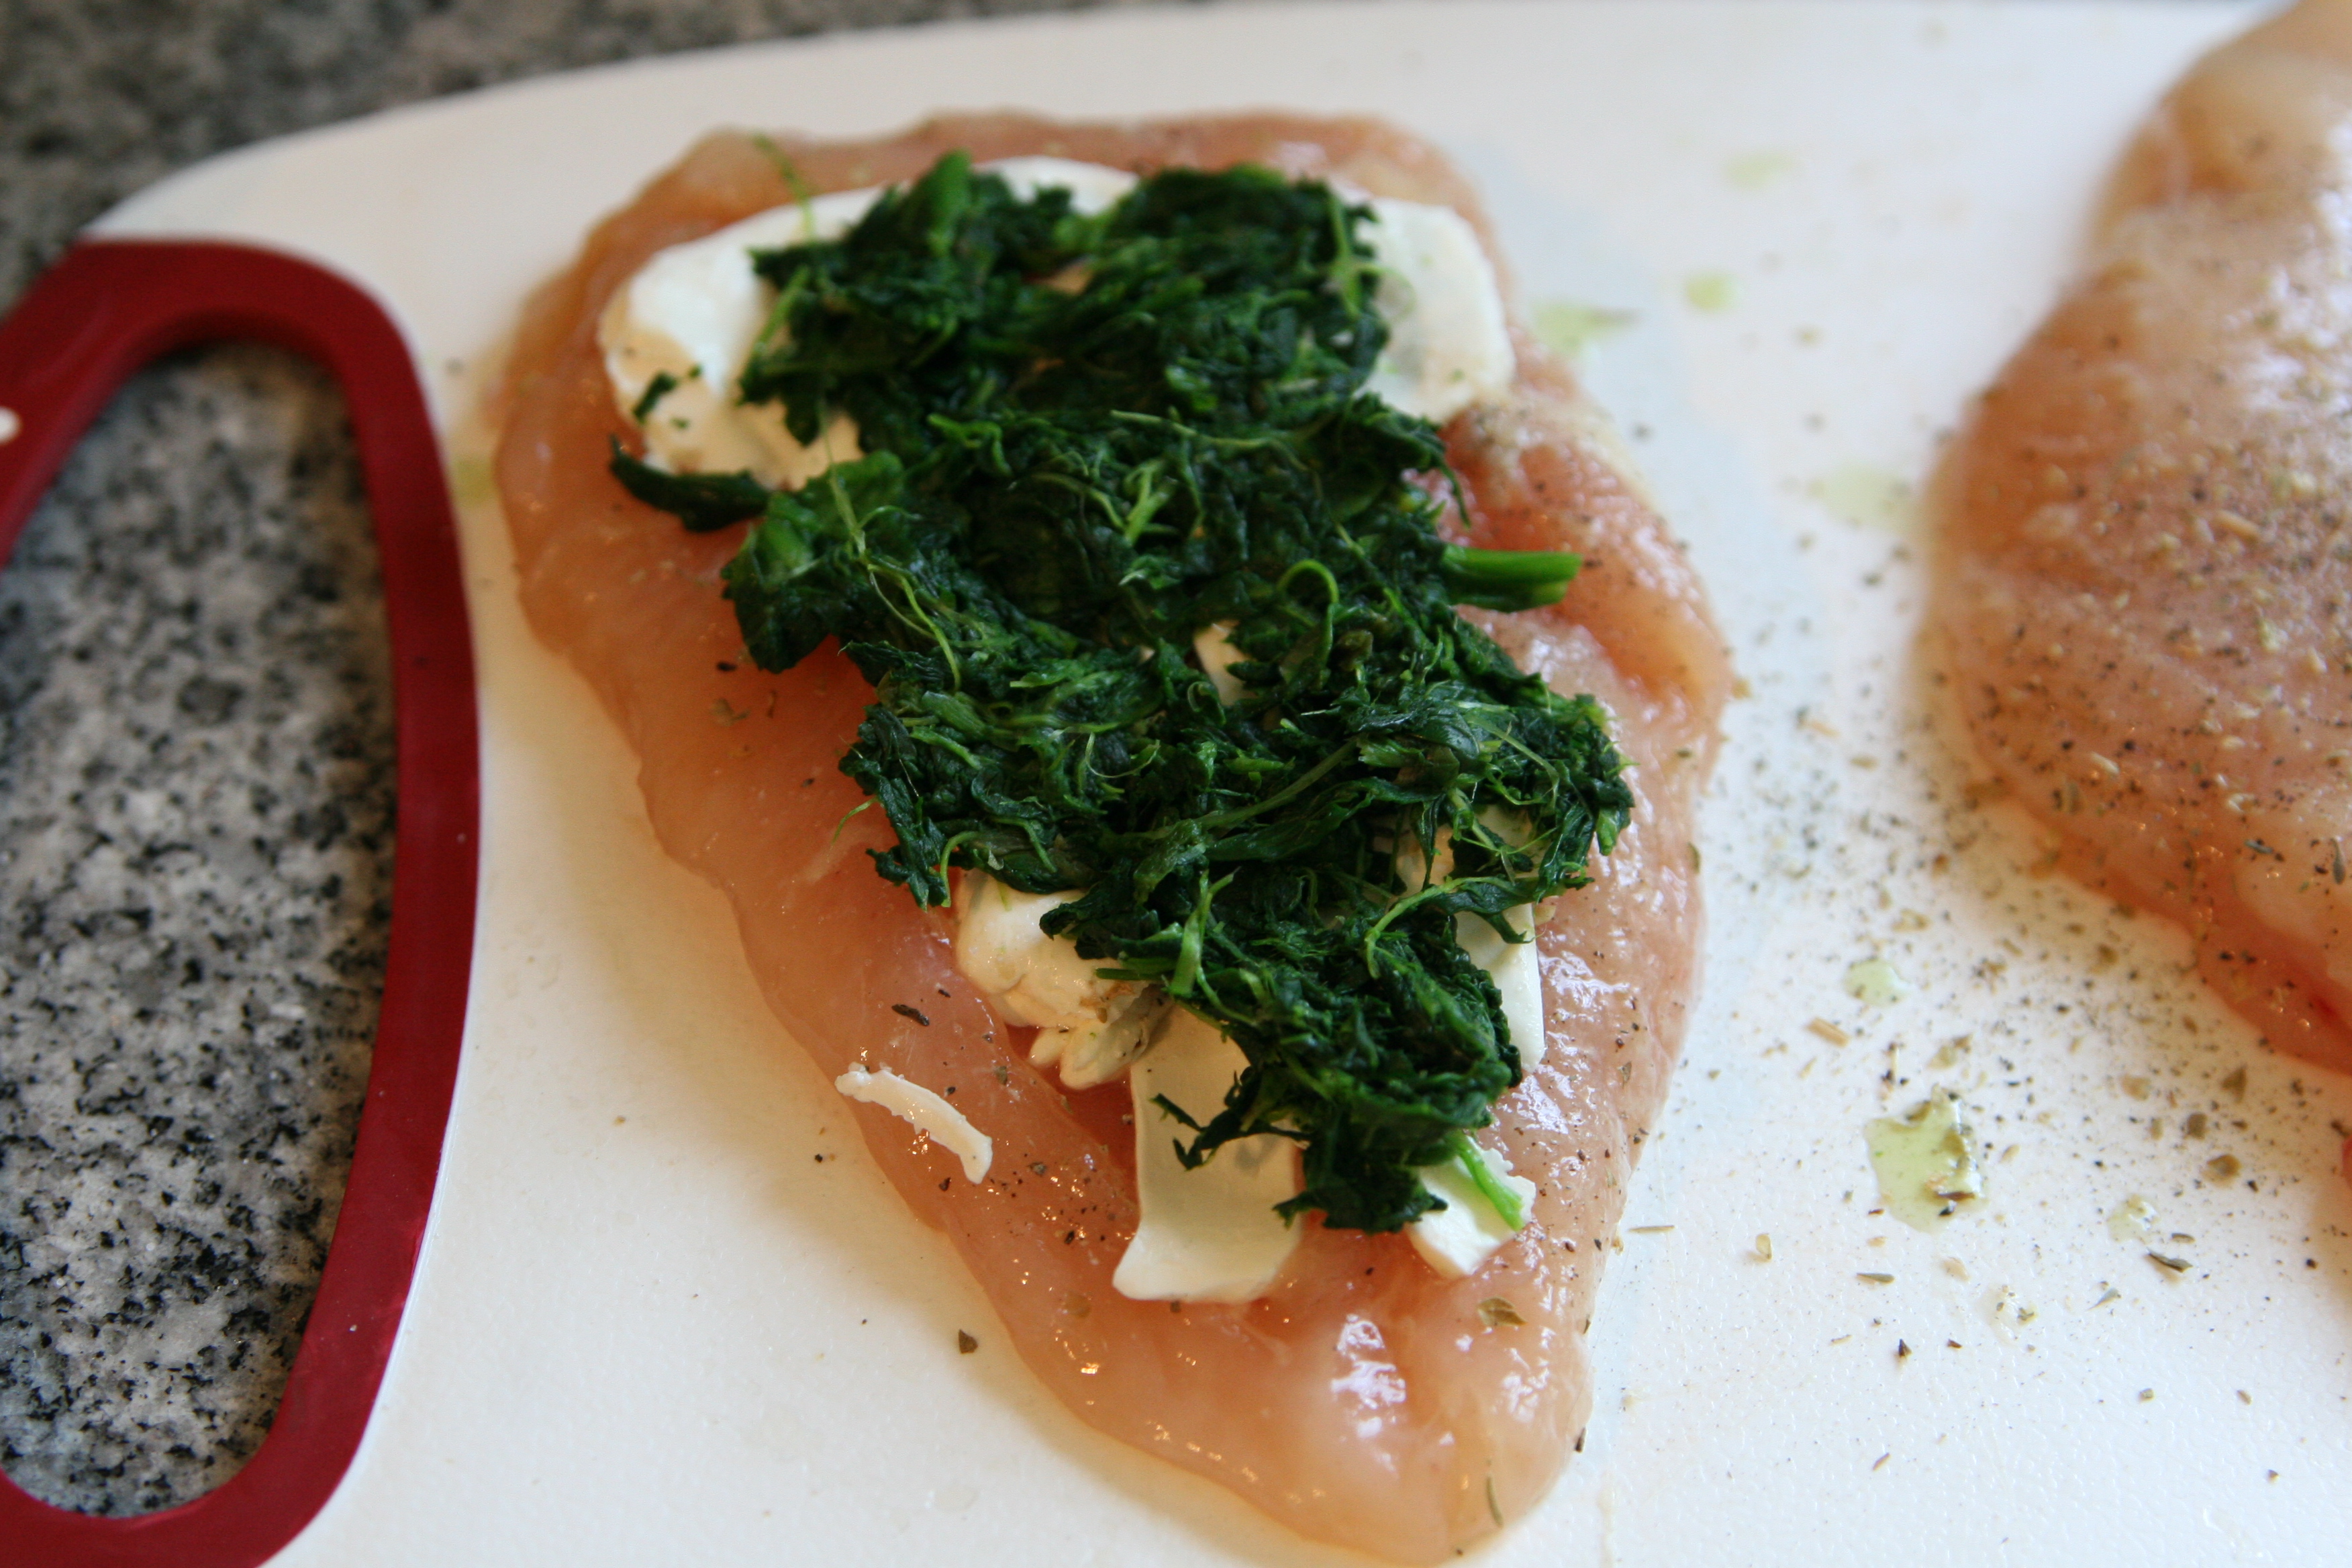
Then I spread on my other fillings starting with cream cheese..
IMG_2008
Then the mozzarella and spinach.
IMG_2009
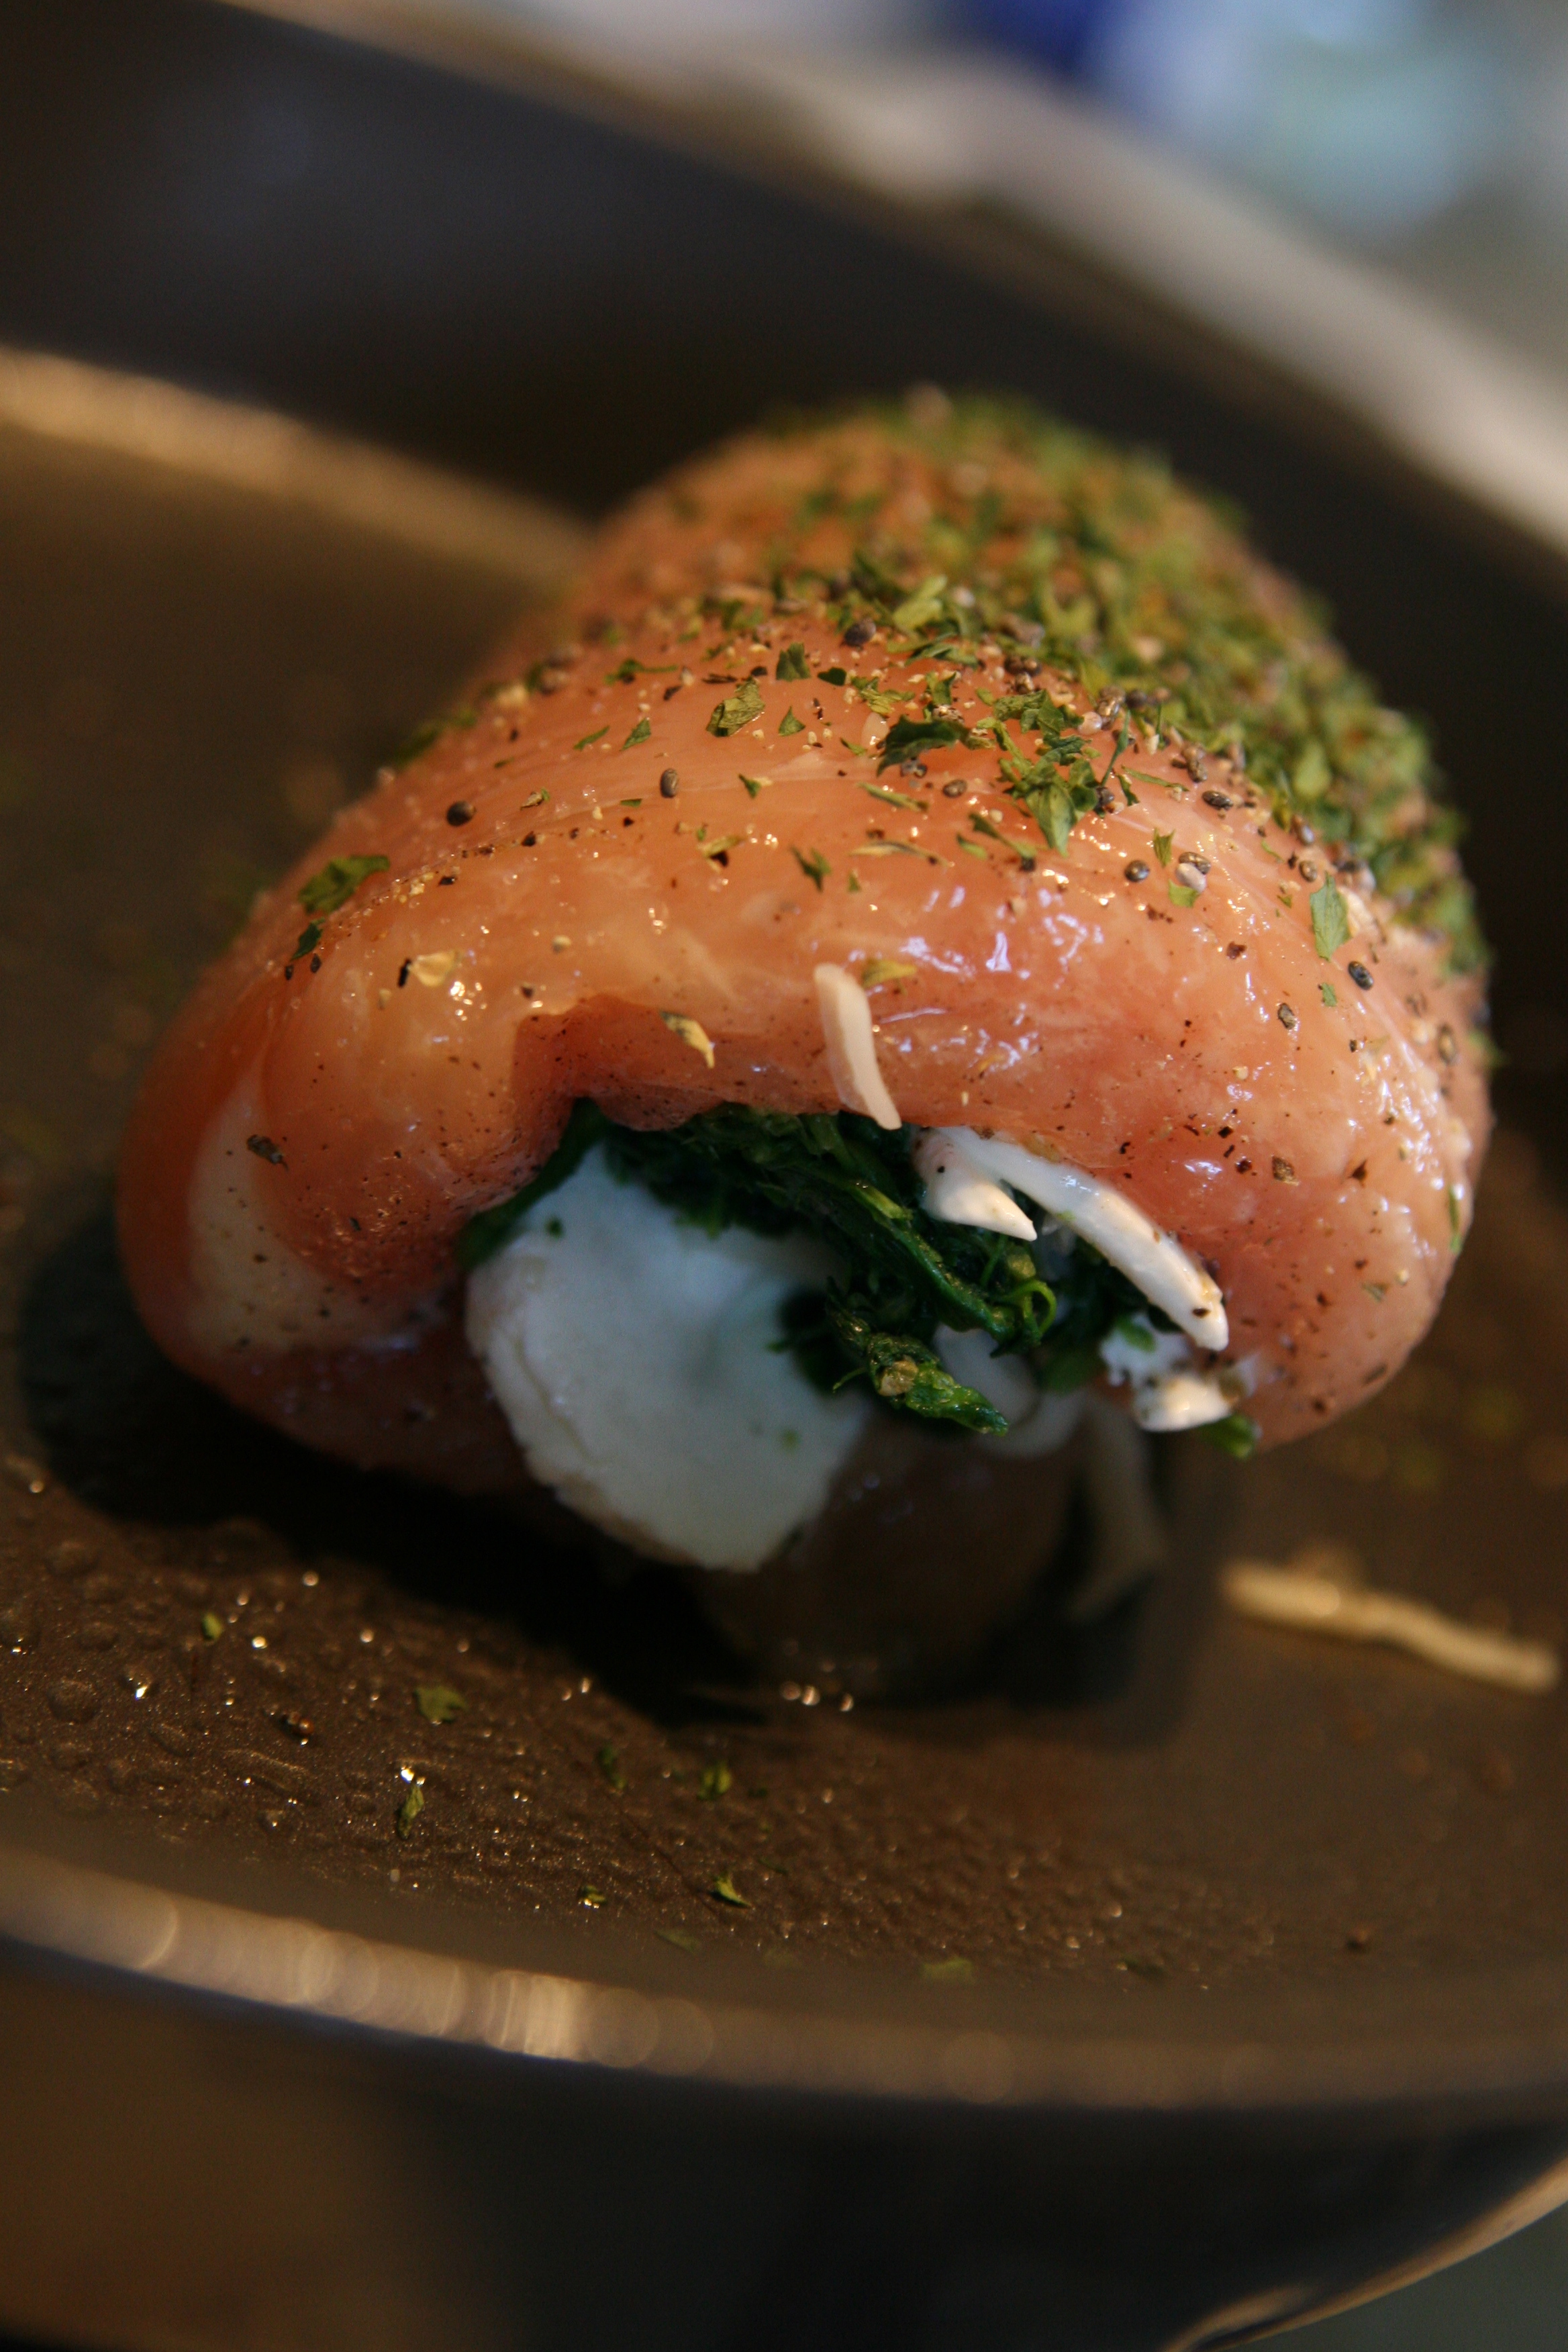
Then I rolled them up and laid them in a baking dish sprayed with some non stick cooking spray (I personally prefer the trader joe's coconut oil)
IMG_2010
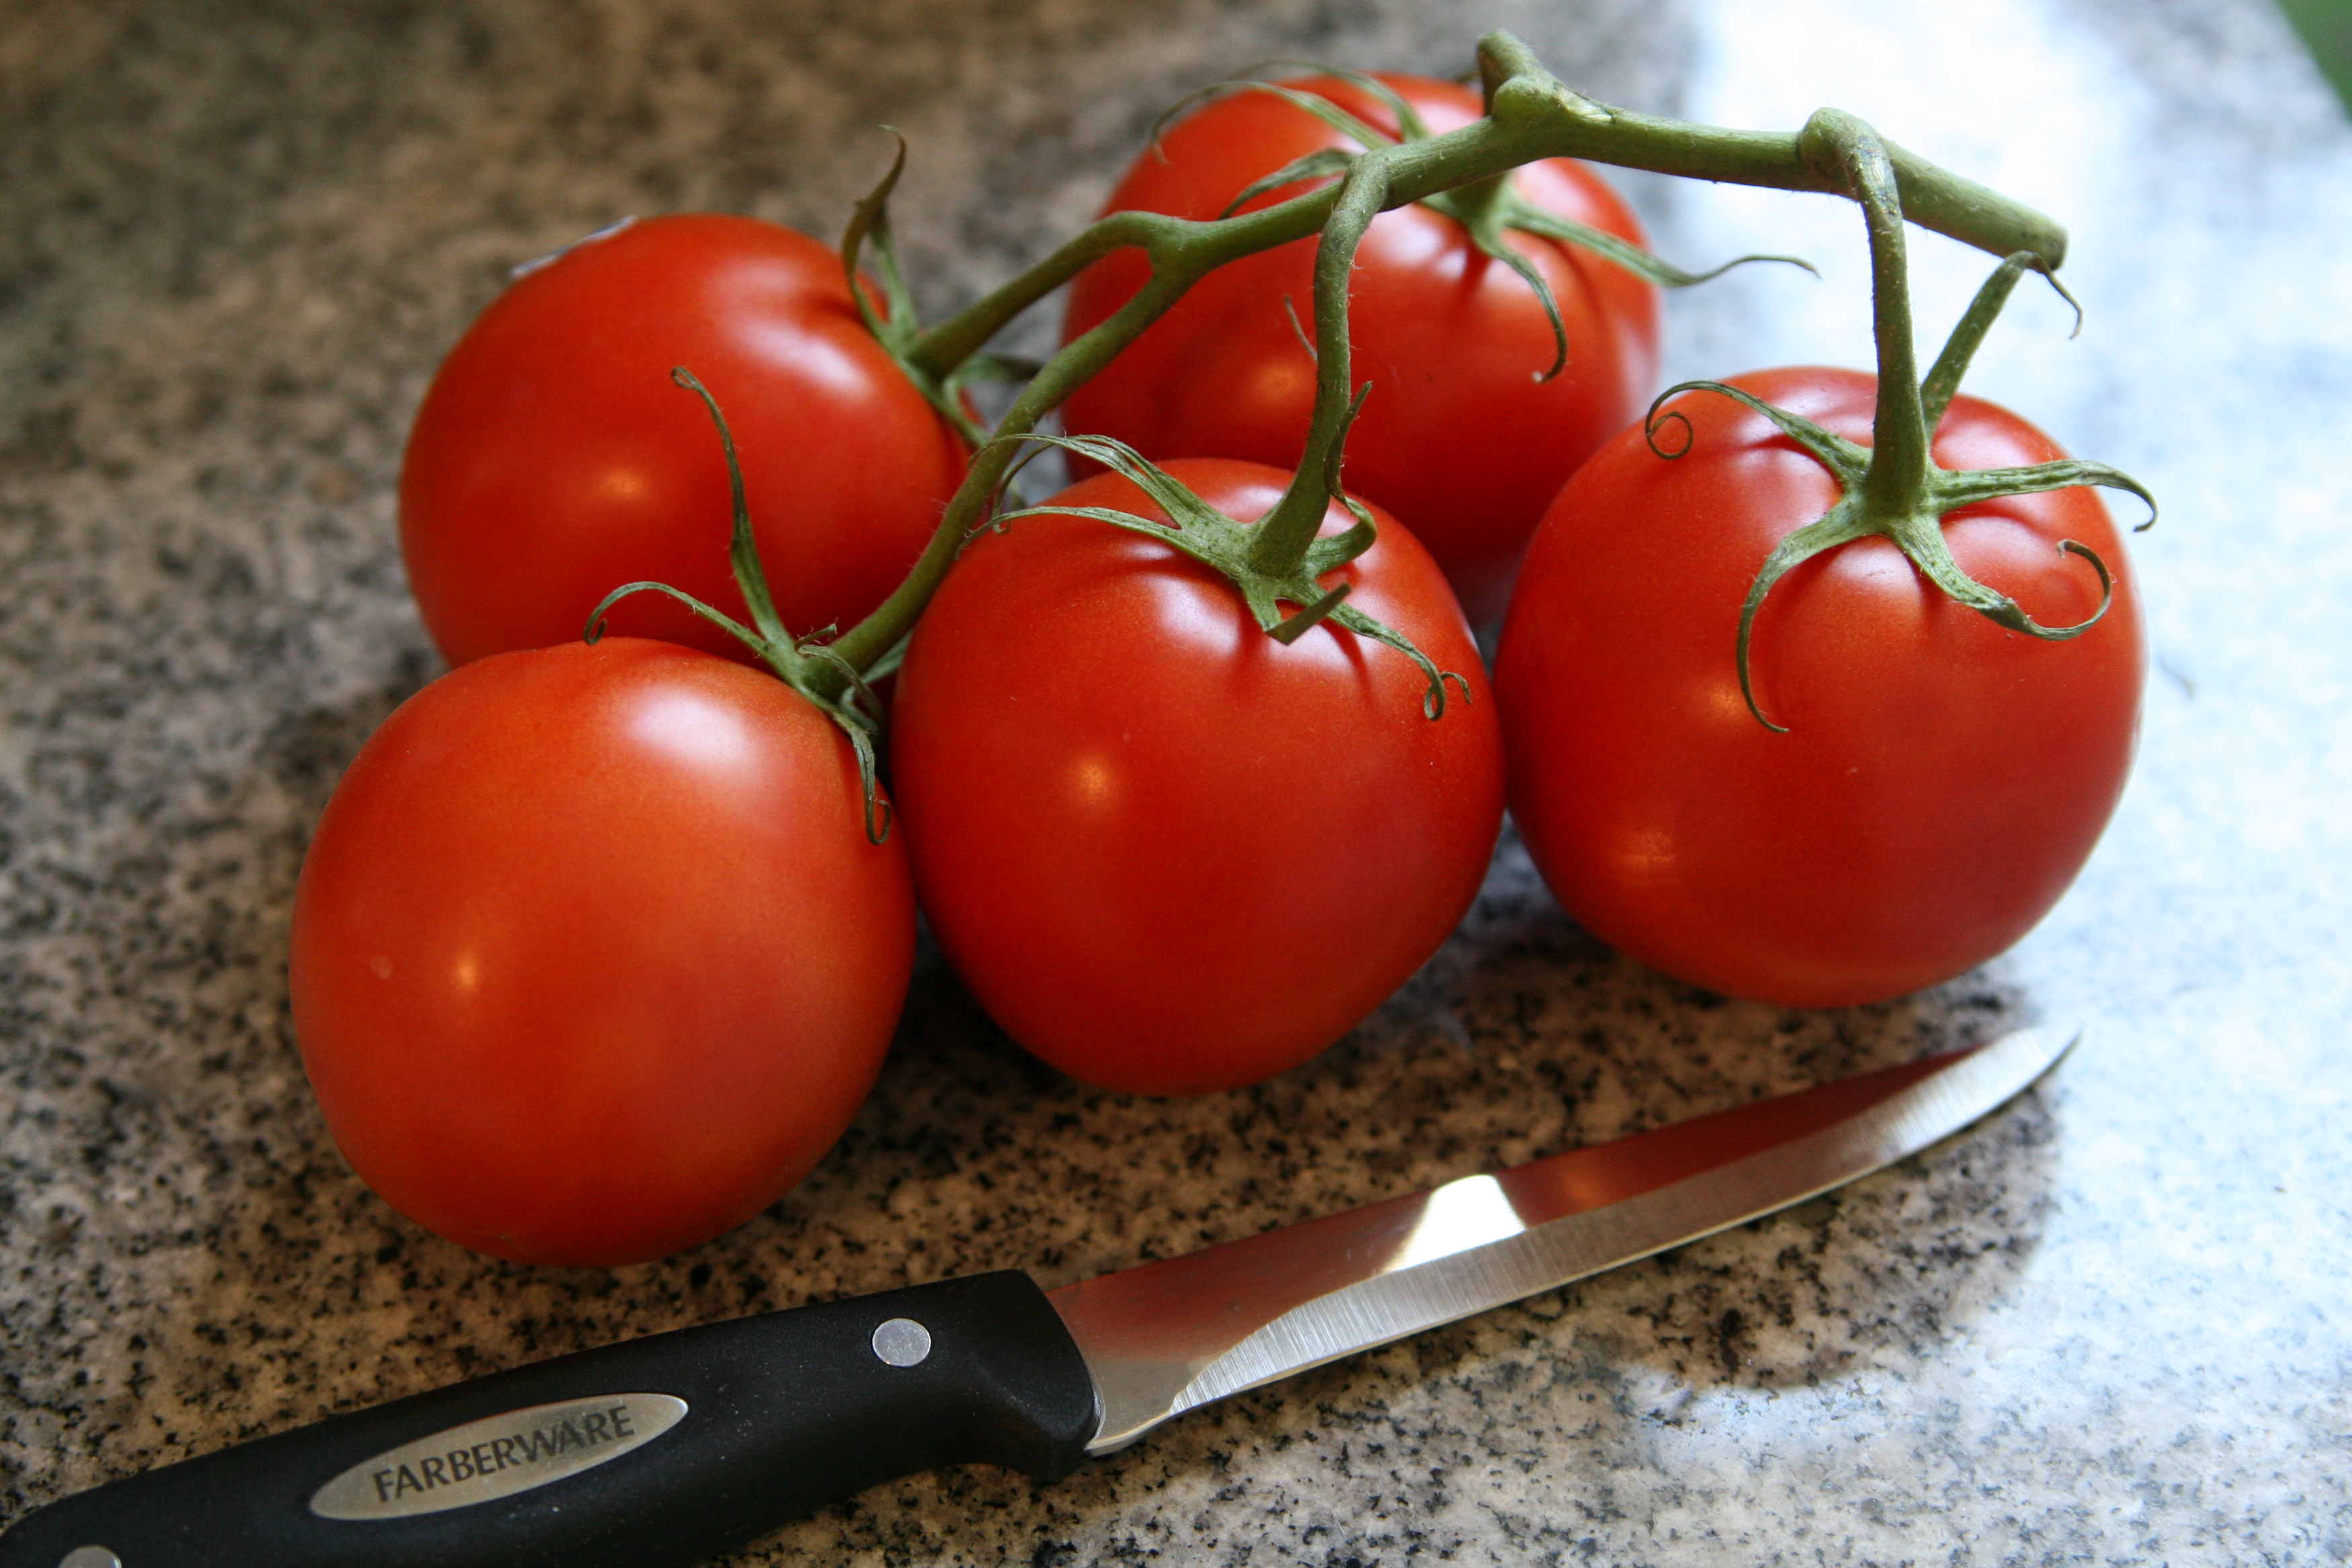
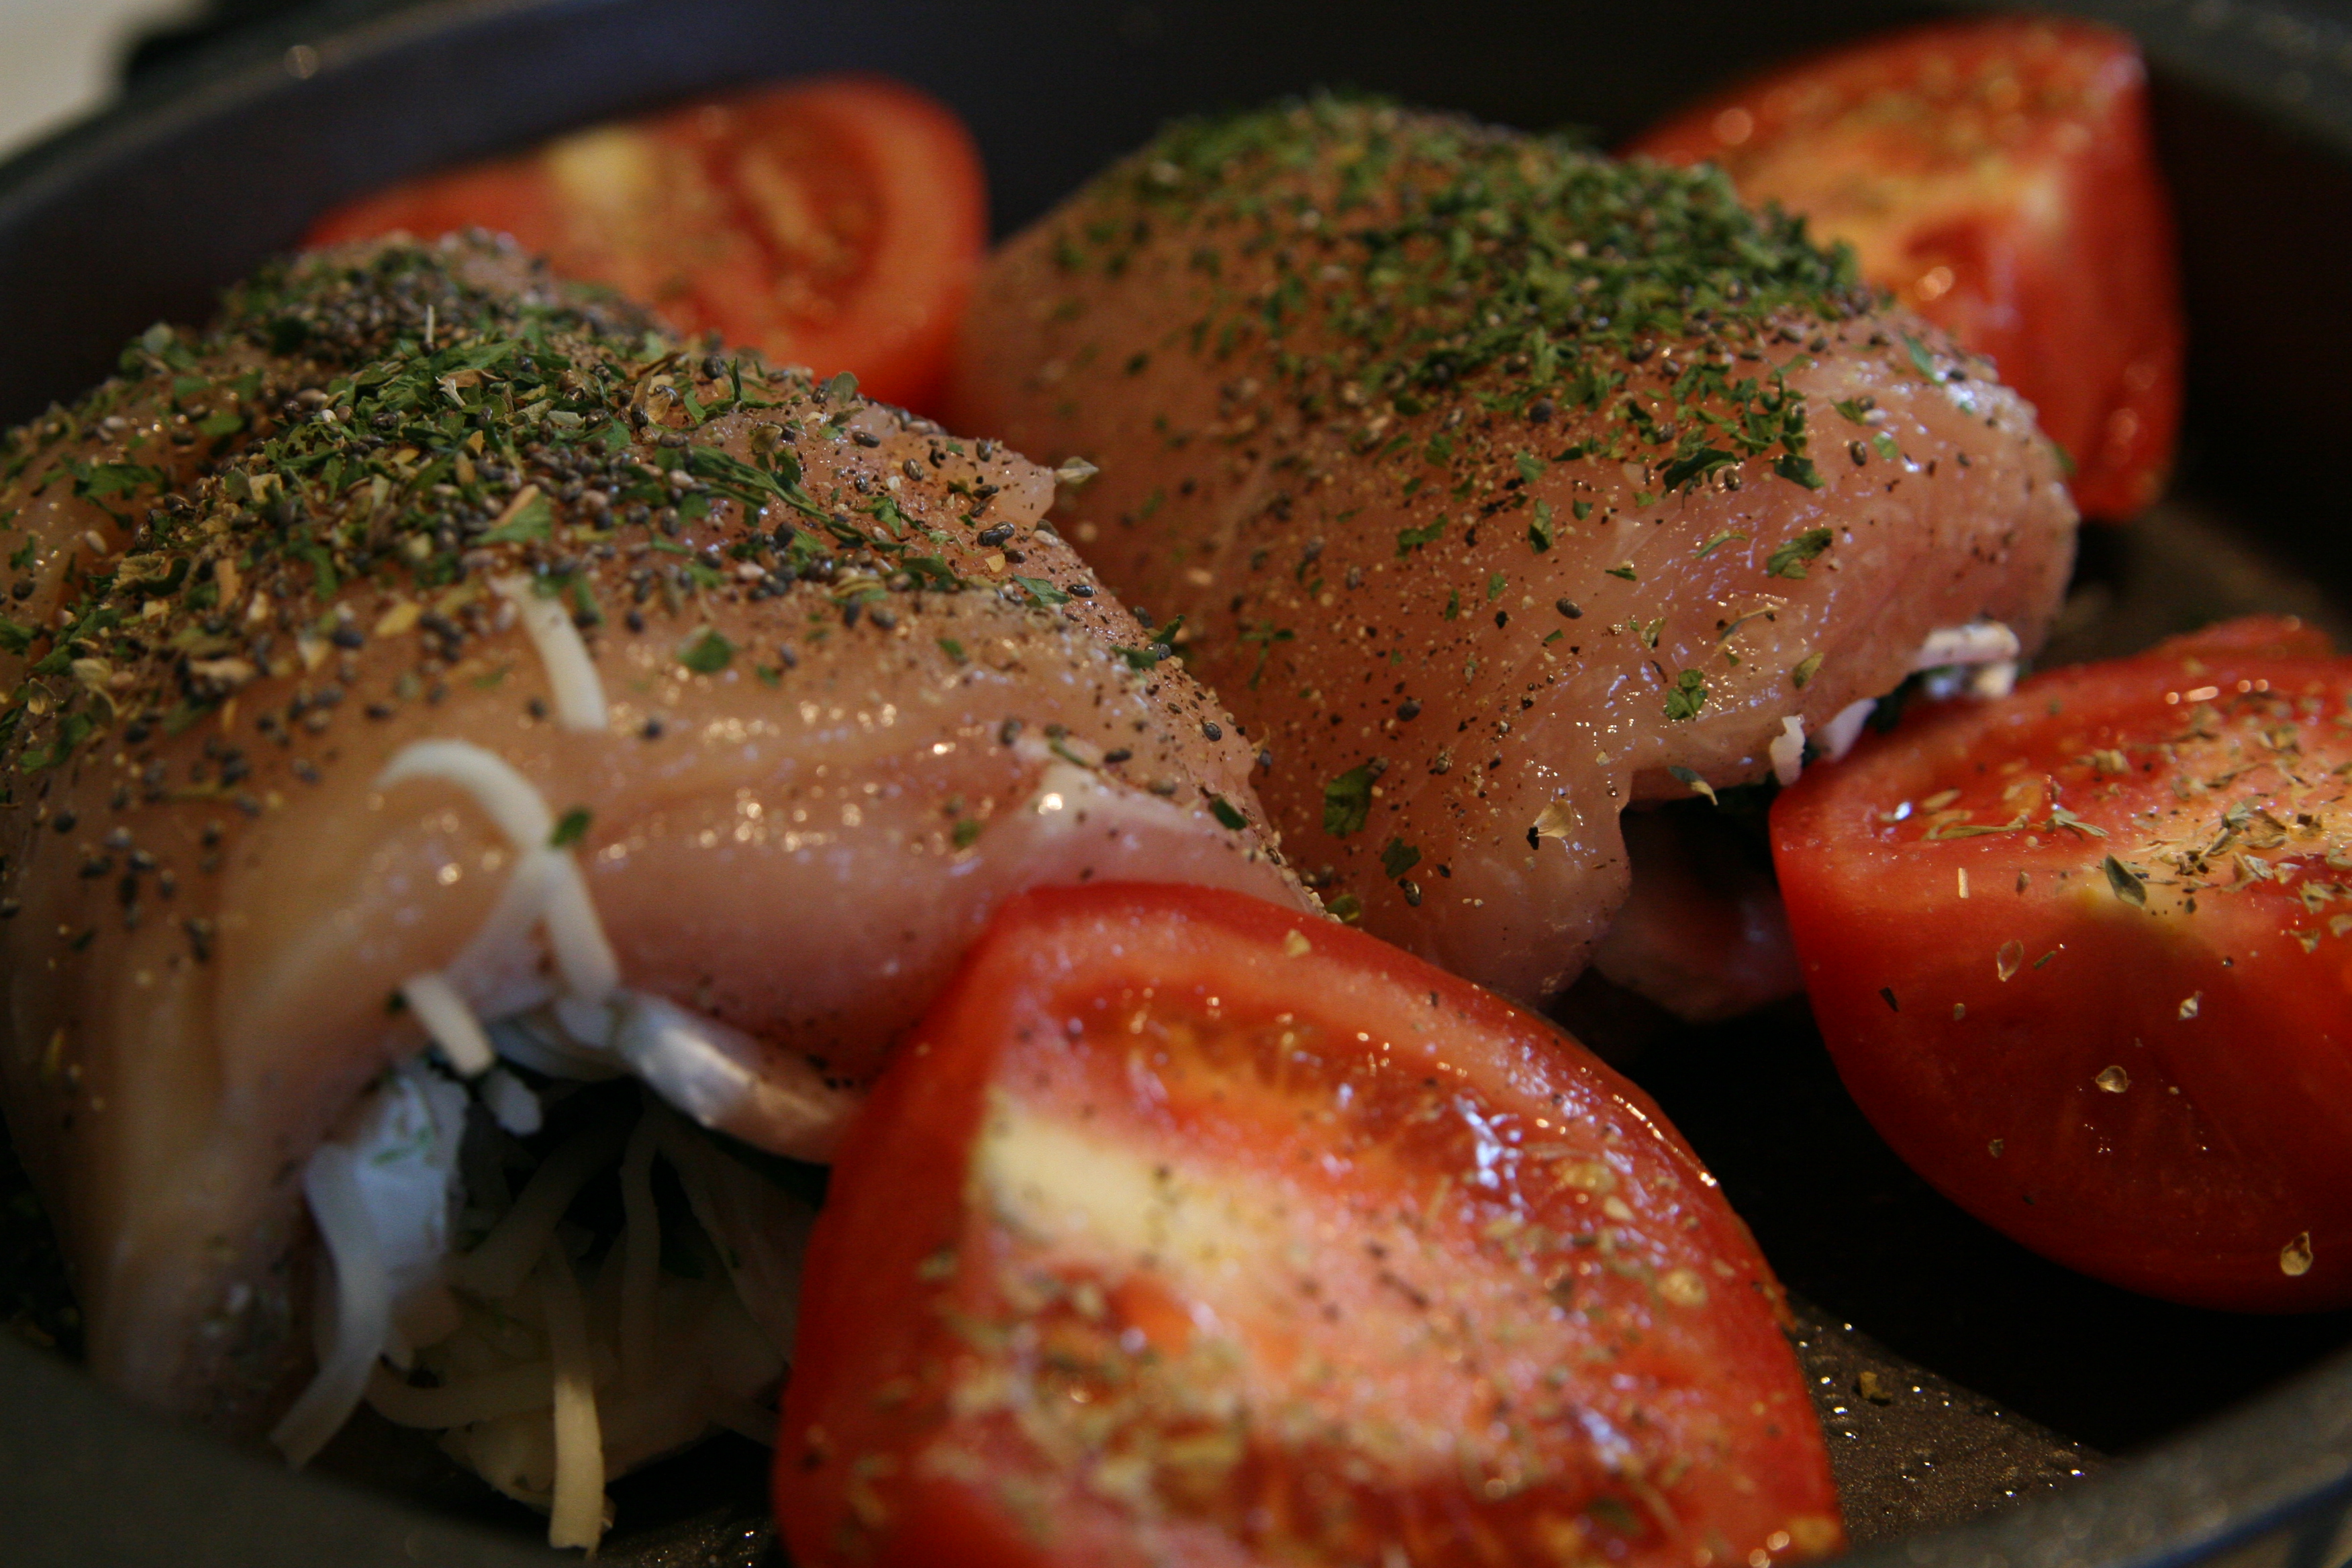
Then I repeated the process for the hubbin and cut up two tomatoes so we could each have one..because they looked too good to share!
IMG_2011
I sprinkled the tomatoes with a bit of salt, pepper, and oregano..ahhhh tying in the flavors of the chicken. ;)
IMG_2013
After about 40 minutes I pulled these bad boys out of the oven and made myself a salad on the side and sat down to dinner.
IMG_2014
I'm not a huge fan of cream cheese so I think when I make this again I will probably skip it in mine or at least just spread on a little bit, but the chicken was super juicy and the filling was great ESPECIALLY when I mixed in the tomatoes. MMM. Go try it!